Dial
Introduction
Dial is a wireless computer input peripheral. I built Dial to control the playback of music and movies on my computer from across the room. Dial uses a rotary encoder with built in push-button to detect rotations and clicks. The firmware on Dial detects single clicks, double clicks, press-and-holds, clockwise and counter-clockwise rotations. It communicates this input data with the computer over Bluetooth low energy. Dial has a built in LiPo battery that lasts for weeks before needing to be recharged with a USB cable.
Though very simple, Dial can be used for many applications. For example, it can adjust volume, play/pause and skip through music. A background Mac application that I wrote handles the Bluetooth low energy communication and invokes corresponding AppleScript scripts when an event (e.g. double click) occurs. So new functionality can be added by editing a few AppleScript files.
Prototype
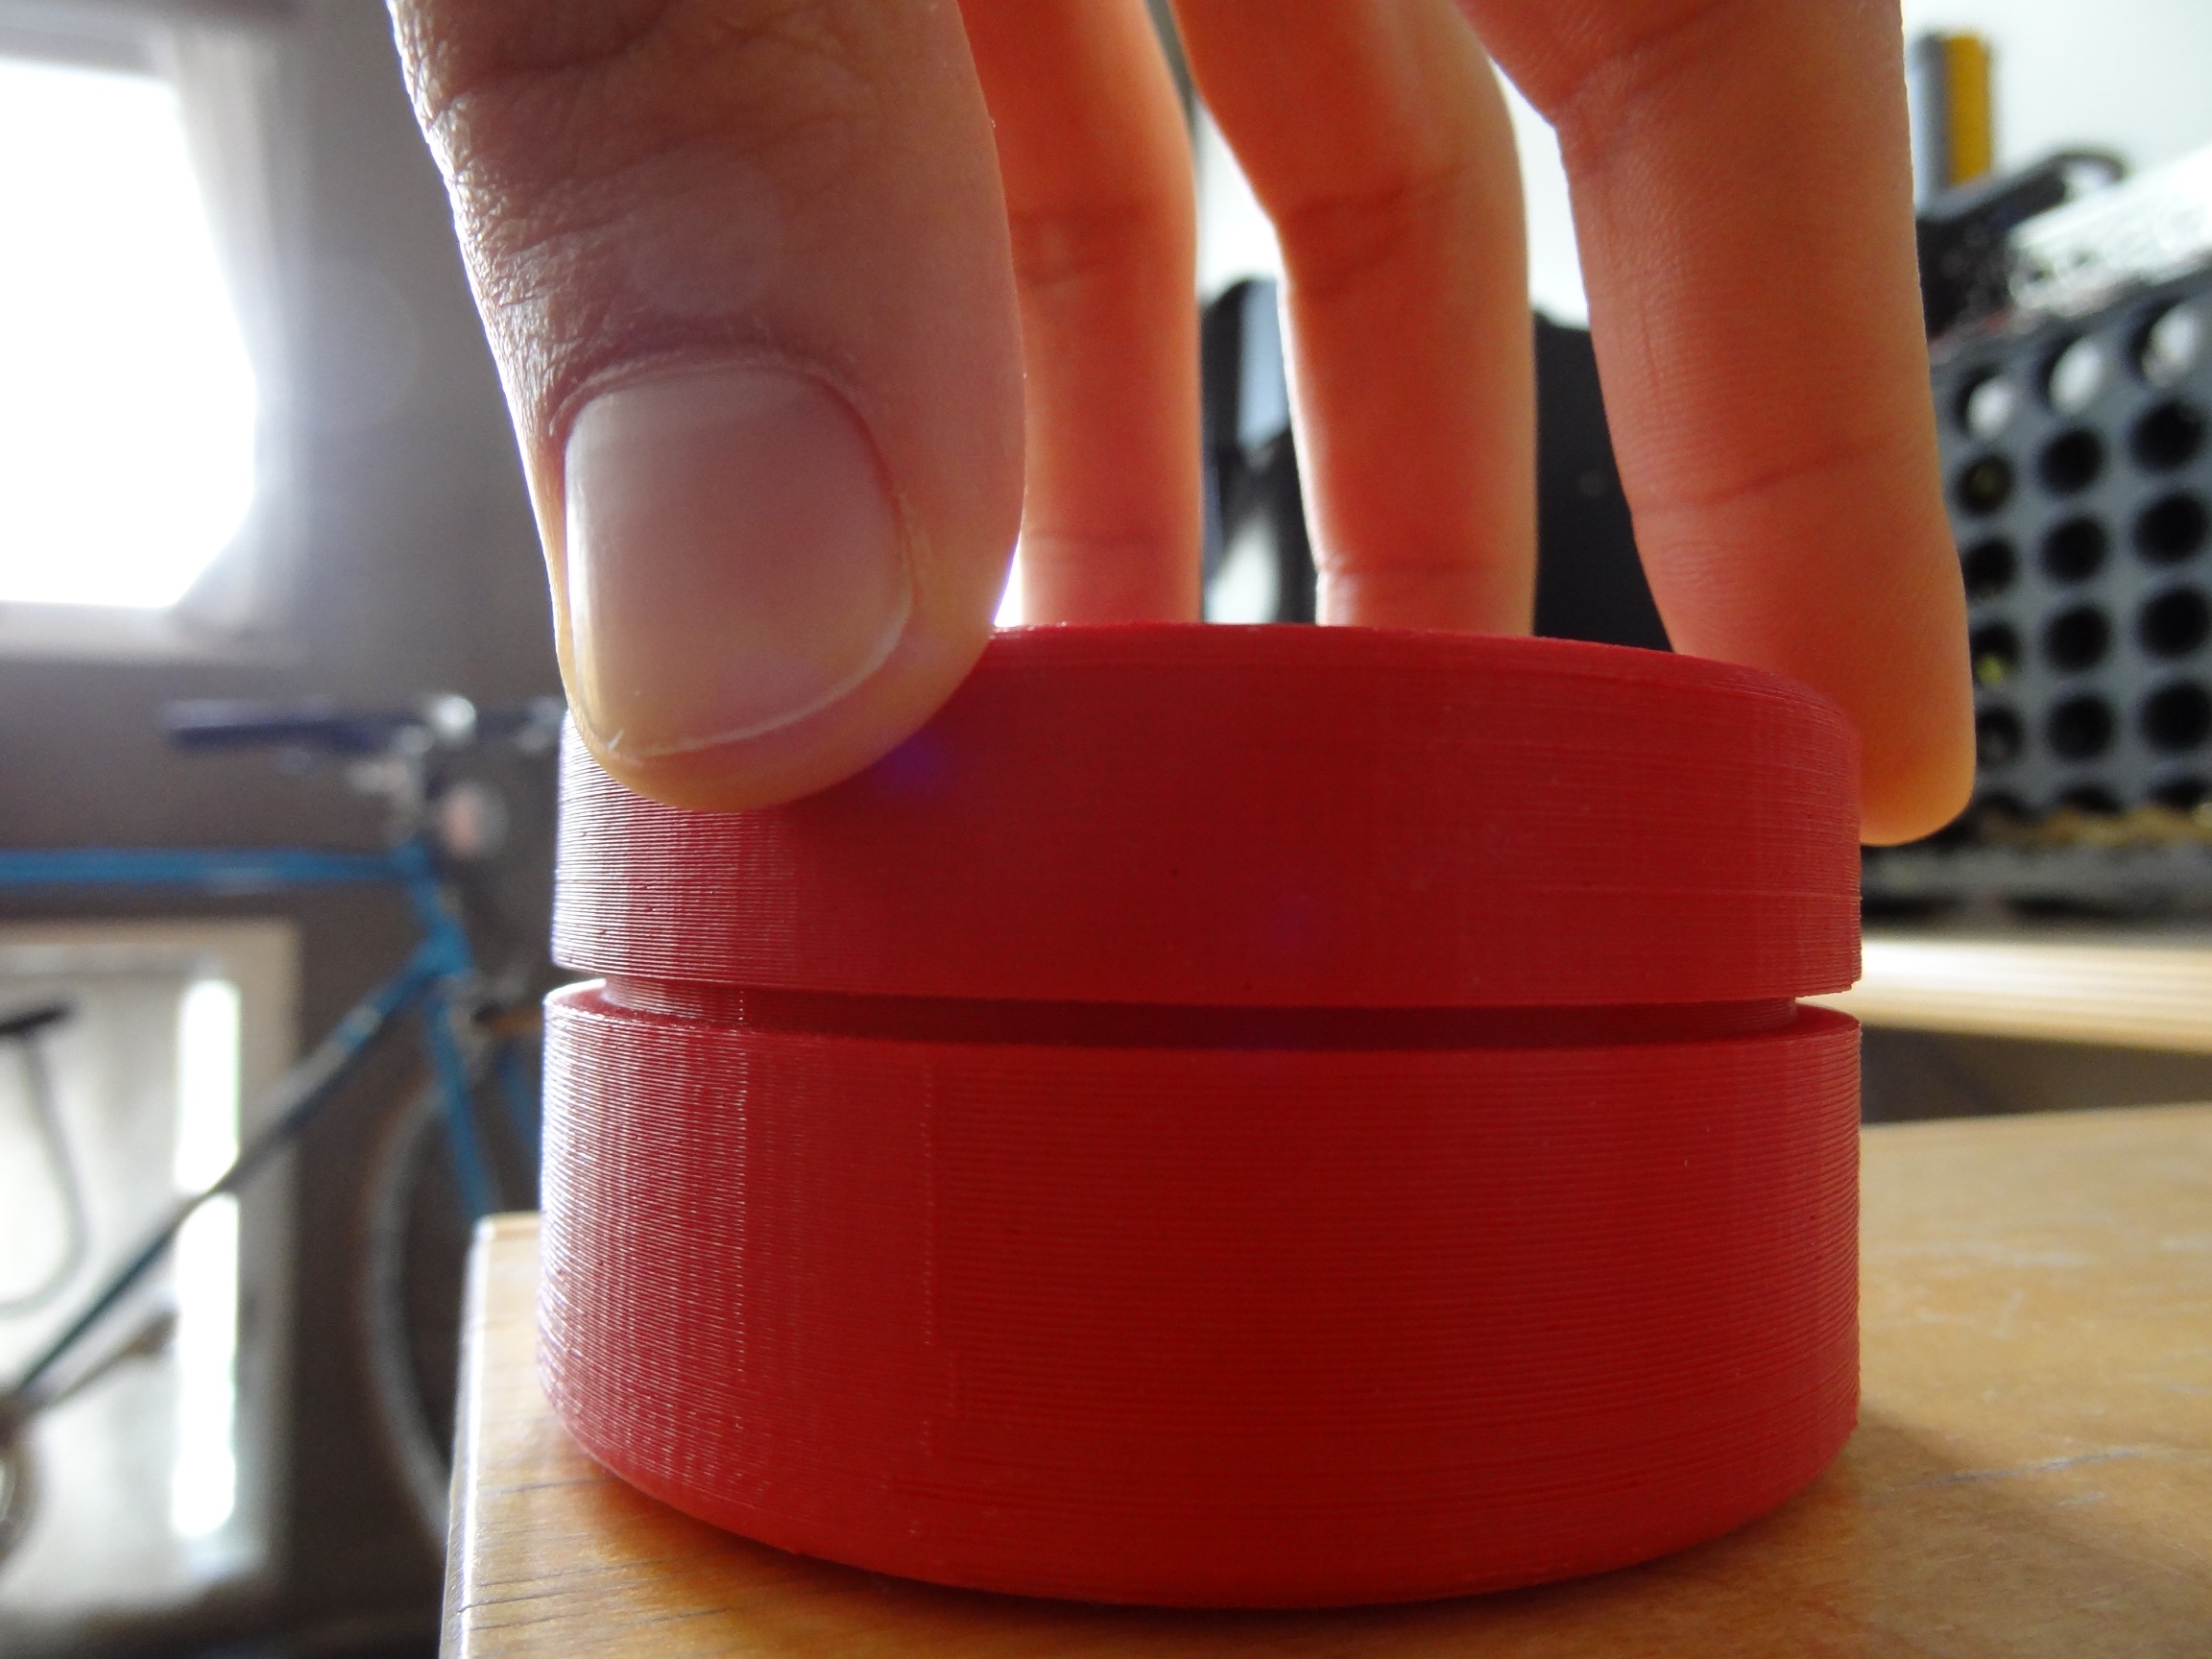
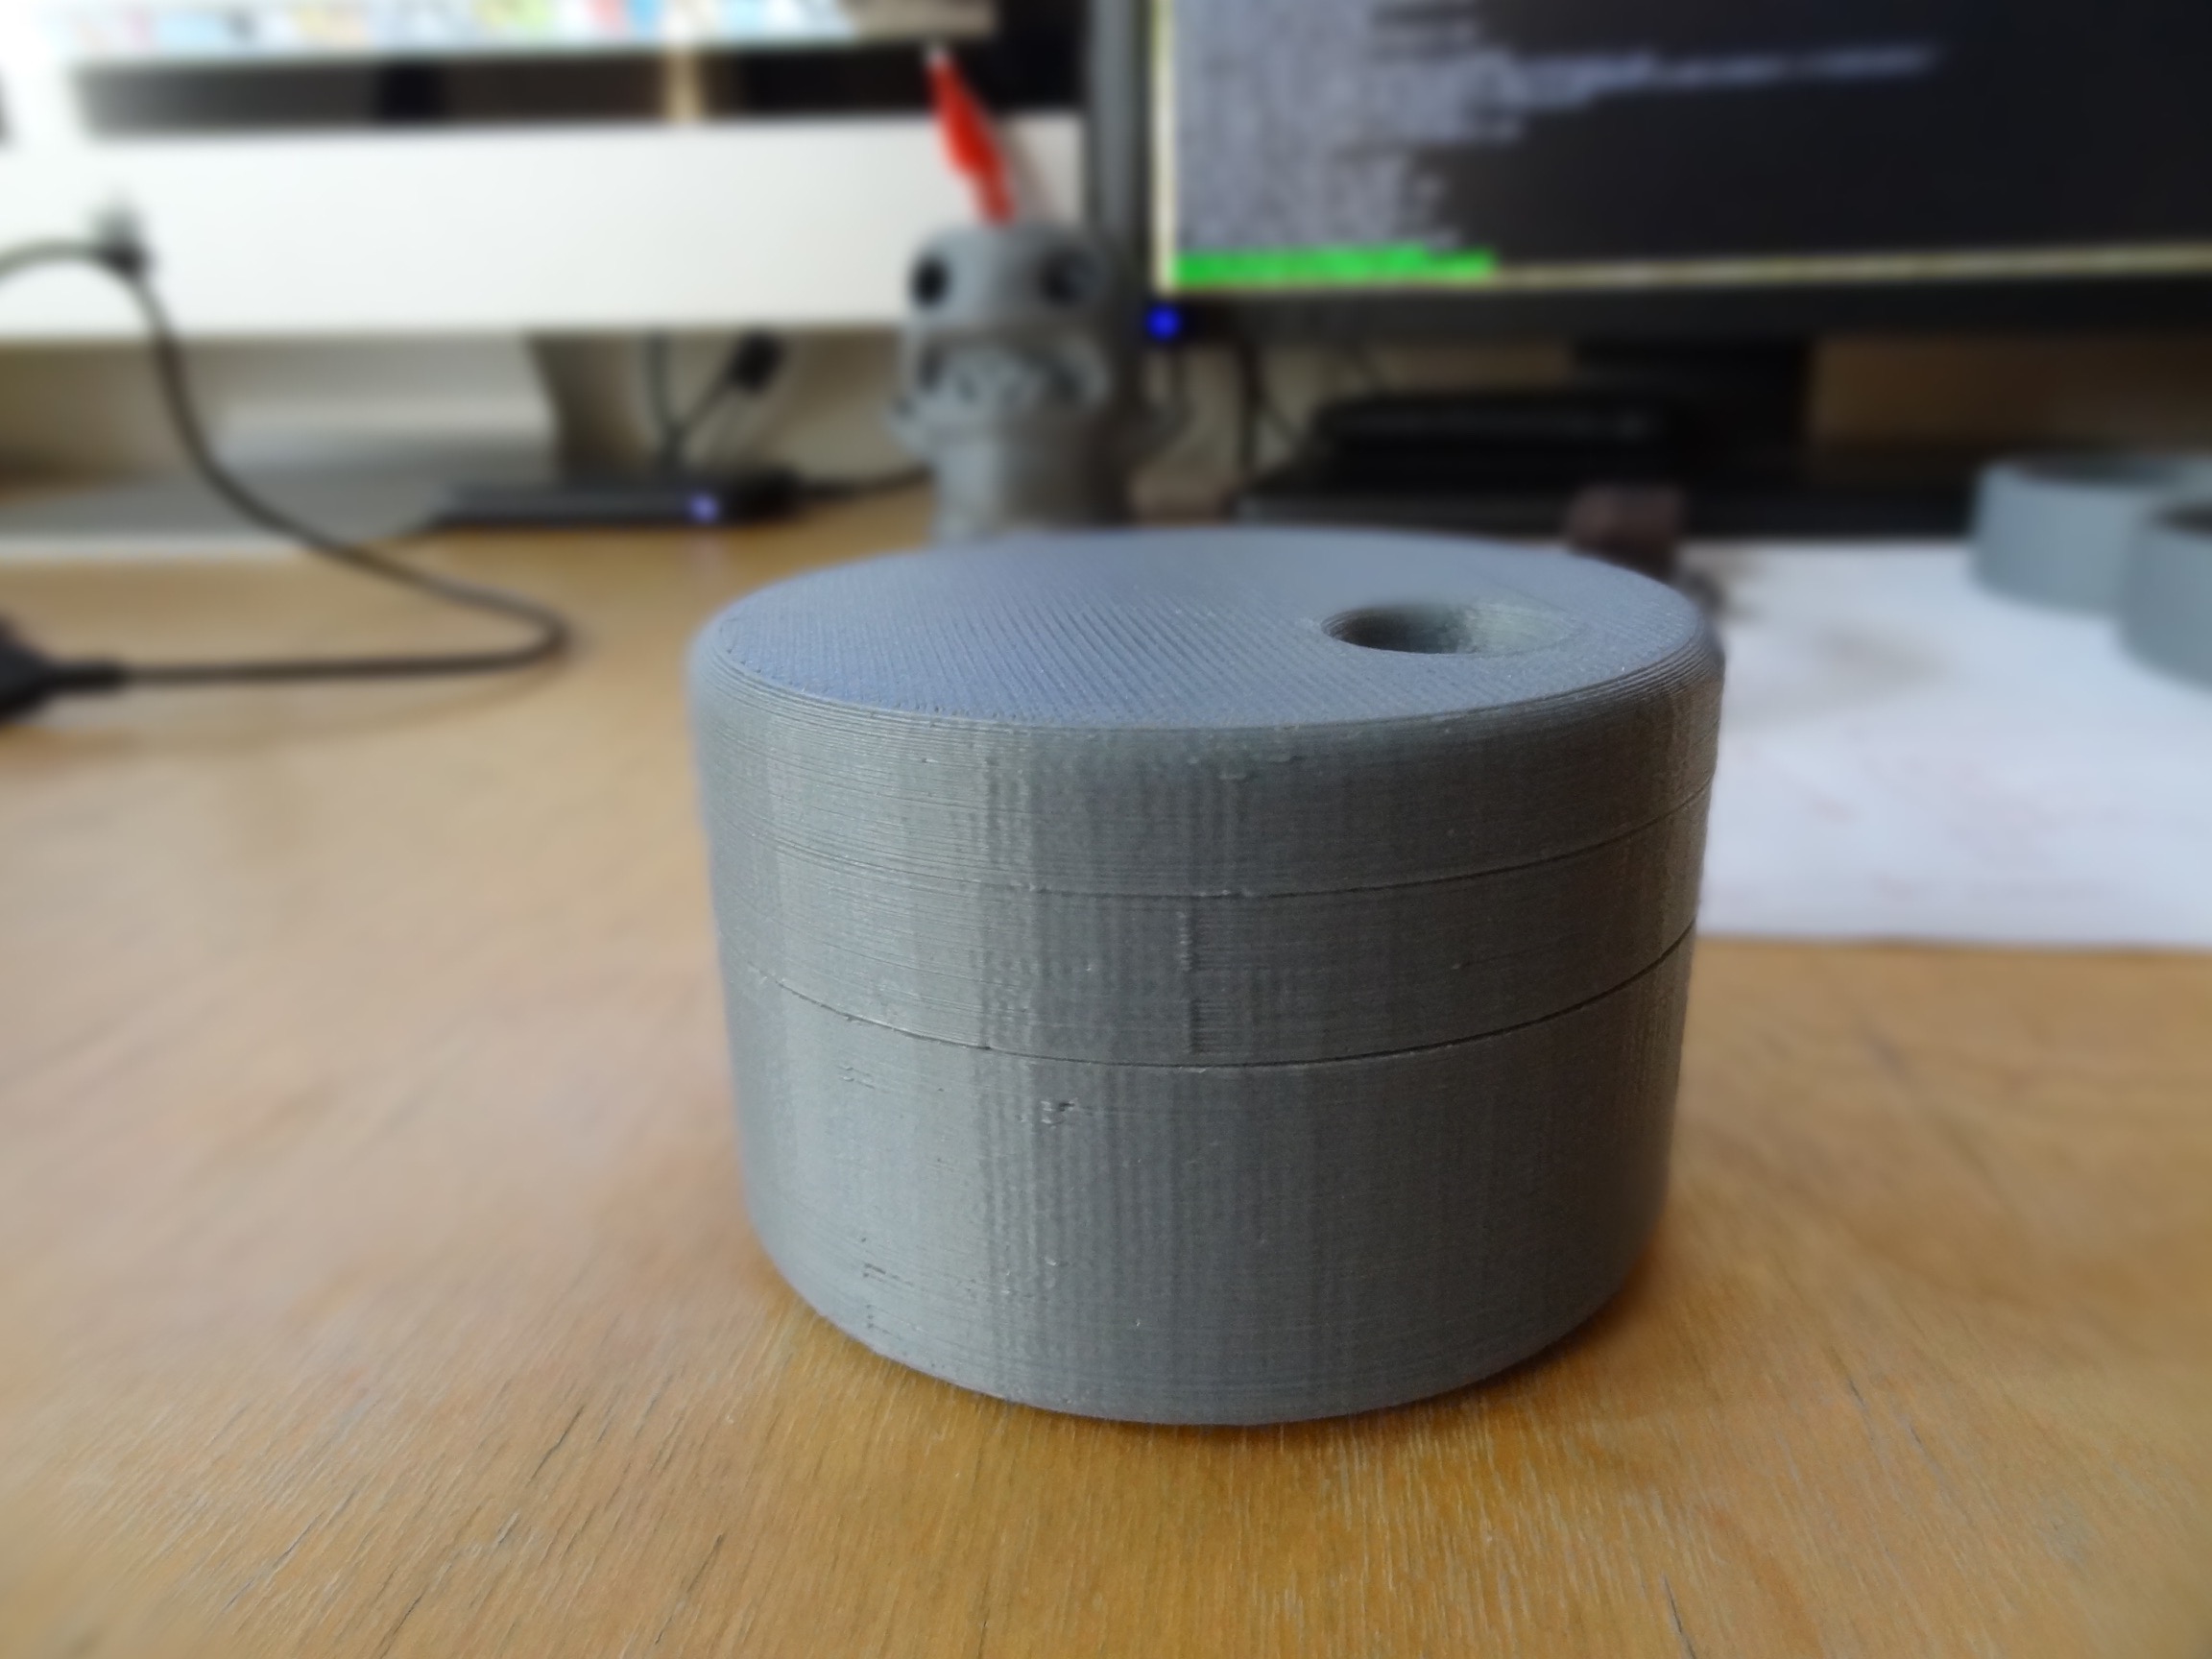
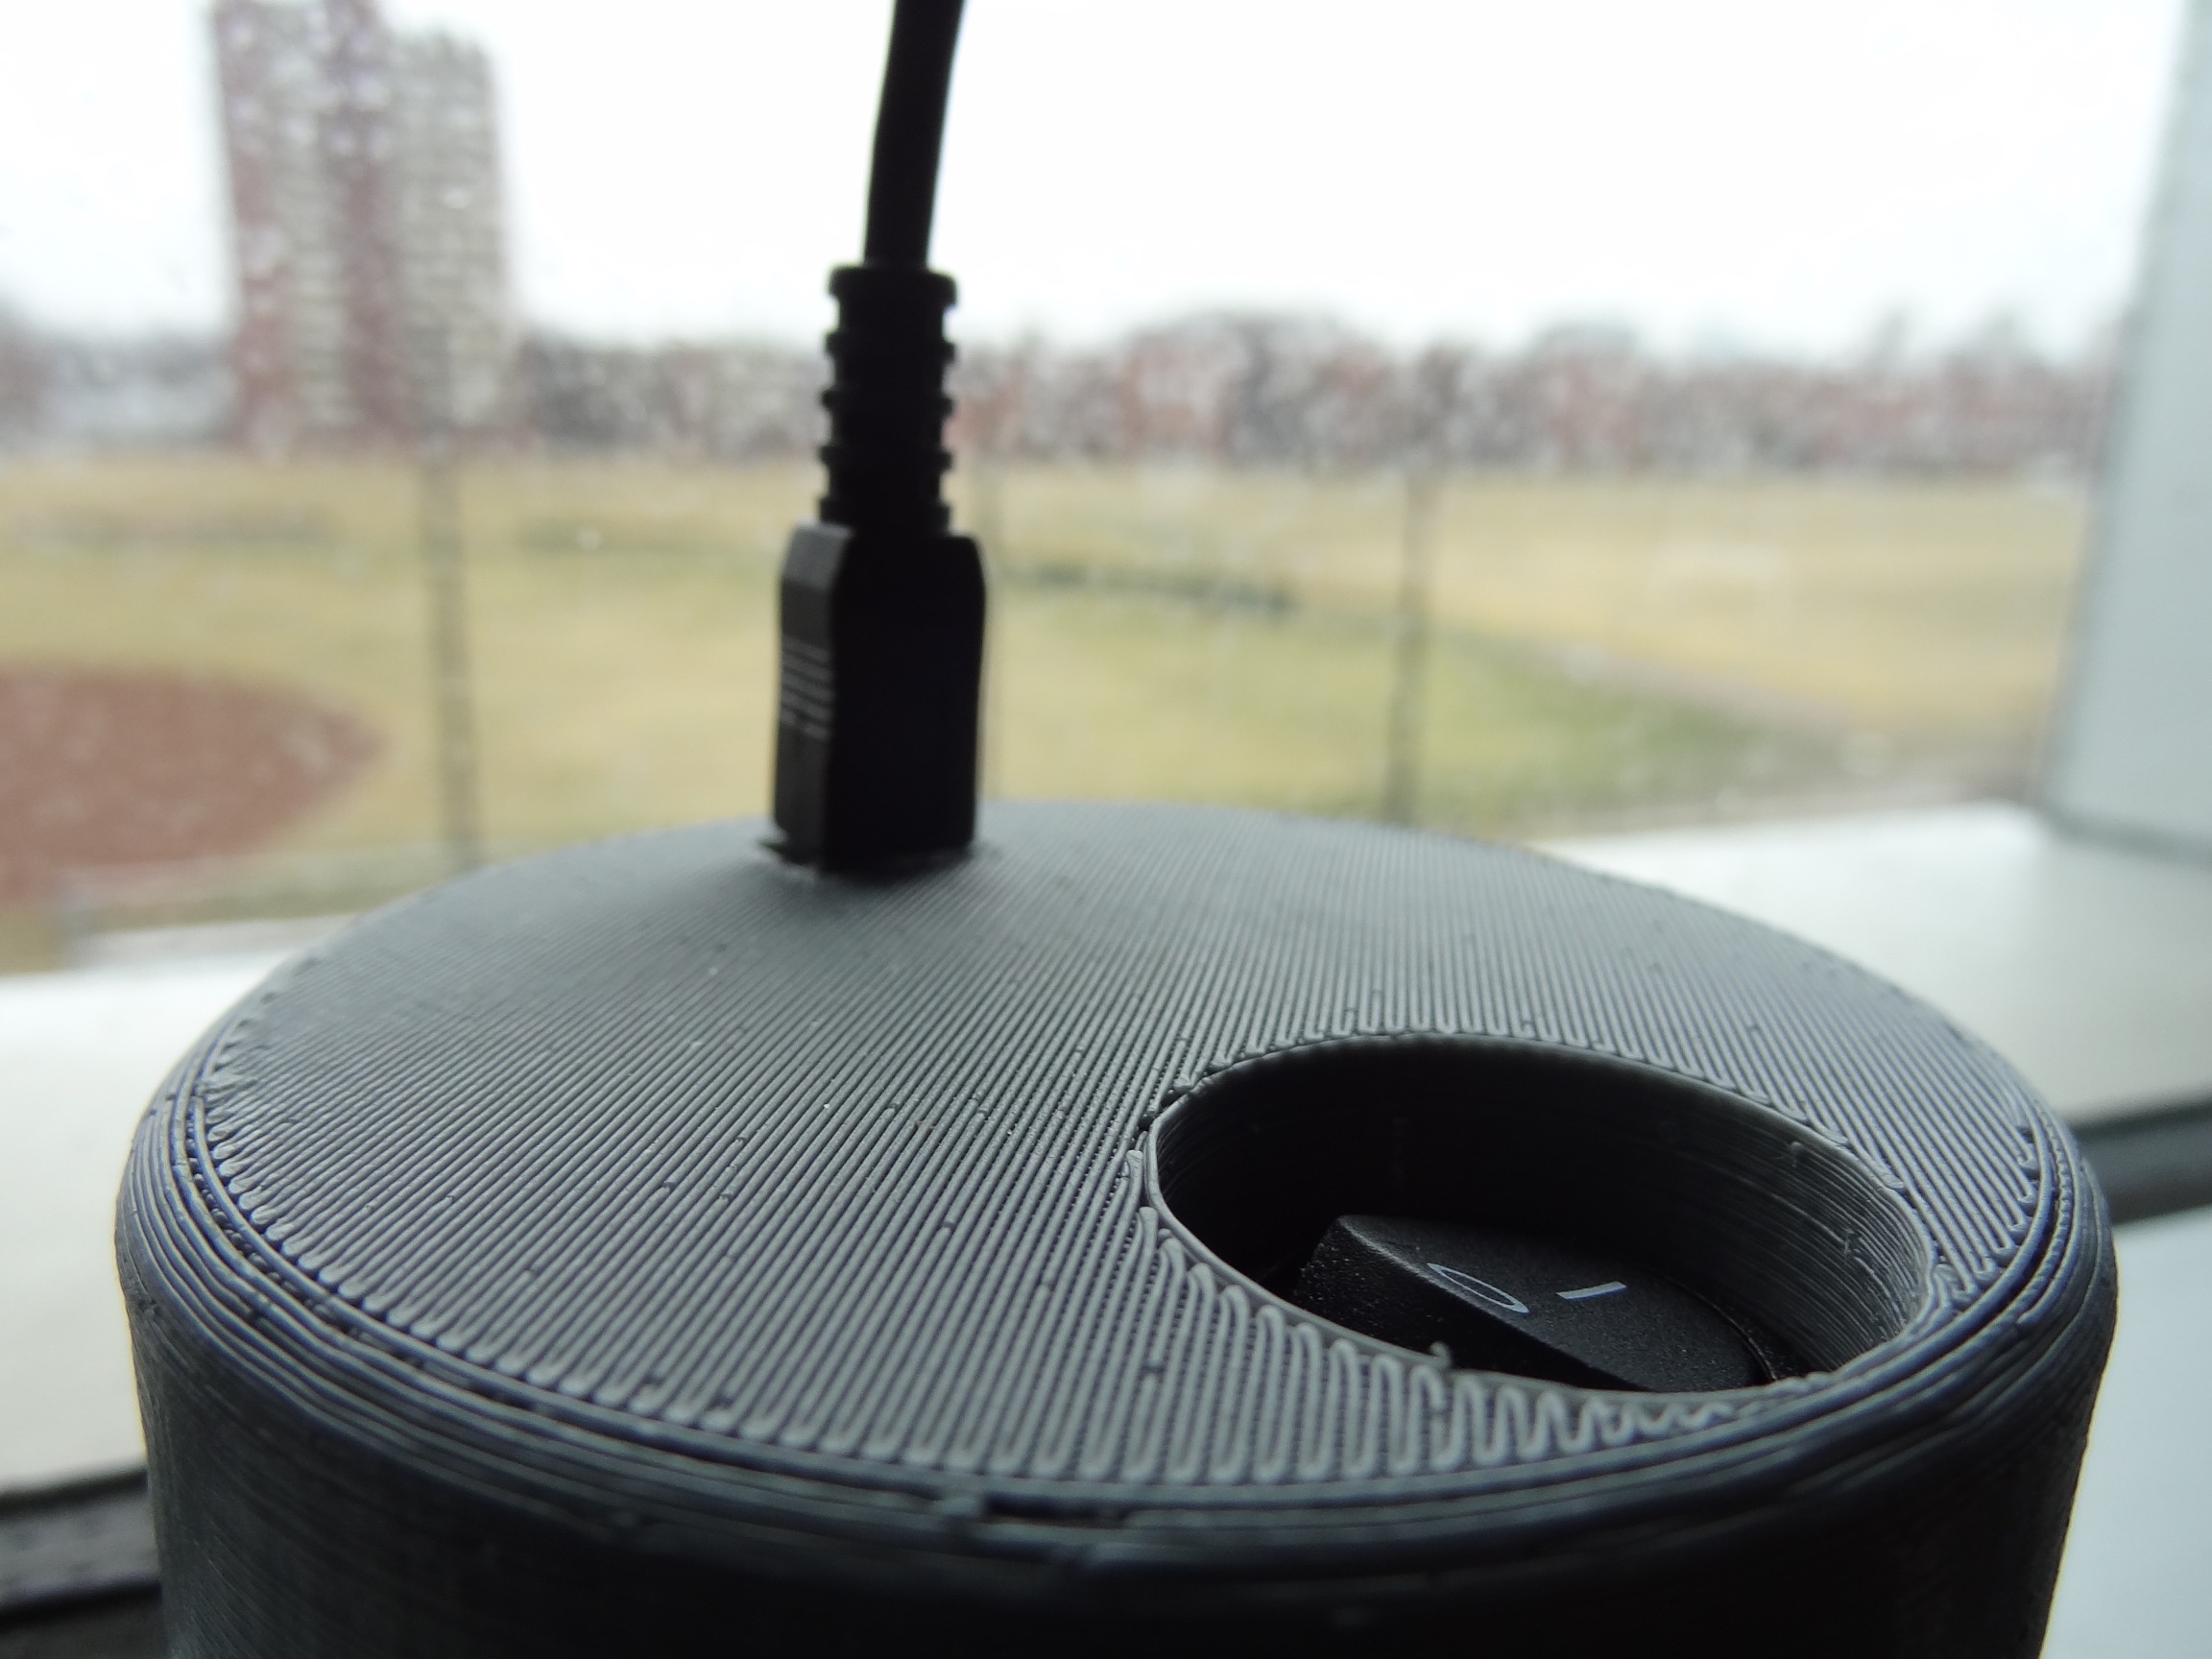
Like most things, Dial started out as a clunky prototype. For the most part, the original prototype is a lot like the final version. It uses an encoder with push-button, has a built in LiPo battery and charging circuit, and communicates over Bluetooth. The big difference in this original prototype and the final version is that this prototype uses Bluetooh 2.0 instead of Bluetooth Low Energy. This difference means that the prototype has a power switch and needs to be recharged after about a day of use. The final version has no power switch and lasts many weeks on a single charge.
I designed the plastic pieces used in this prototype in SolidWorks and printed them on my Up Mini 3D printer. The computer software for this prototype was written in Java - the final version uses Objective C. The prototype's software was written to control volume and play/pause of iTunes music. You can download all of these files below.
Prototype's parts list:
- Arduino Pro Mini
- Rotary Encoder
- Rotary Encoder Breakout Board
- 1000mAh LiPo Battery
- LiPo Battery Charger/Booster
- Bluetooth Module
- Power Switch
Prototype's design files and code:
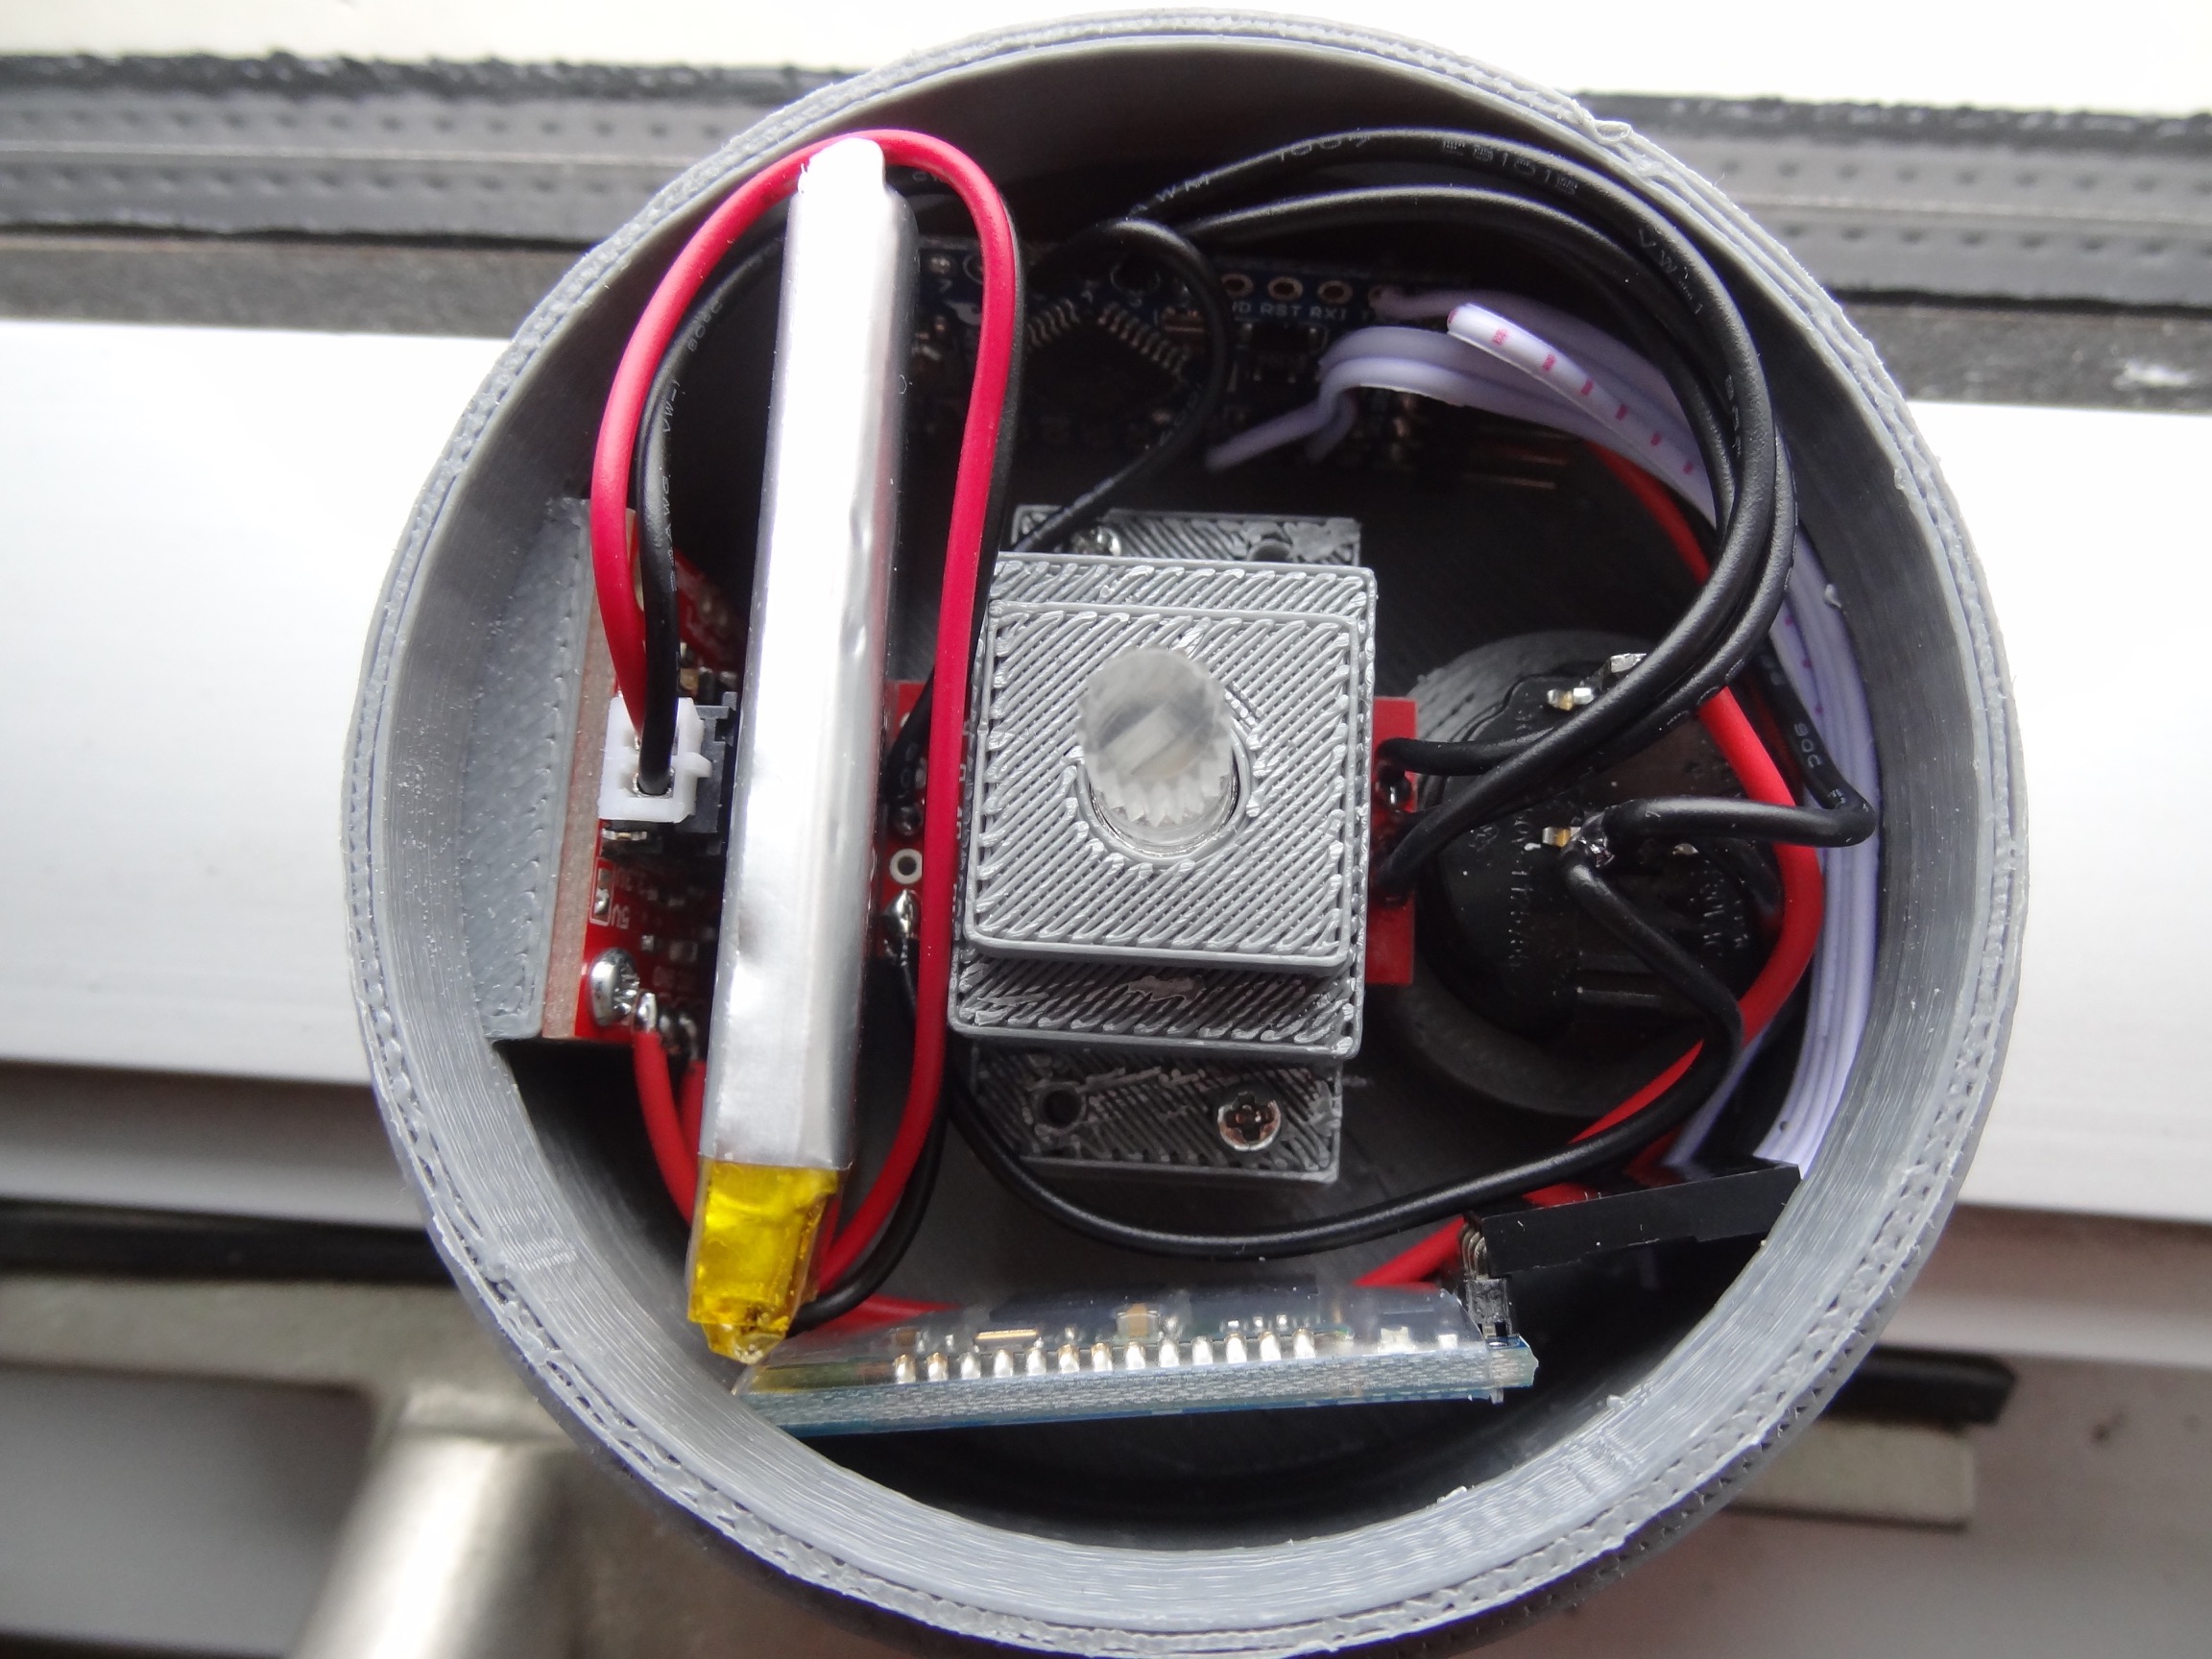
Prototype Photos


Dial's Circuitry
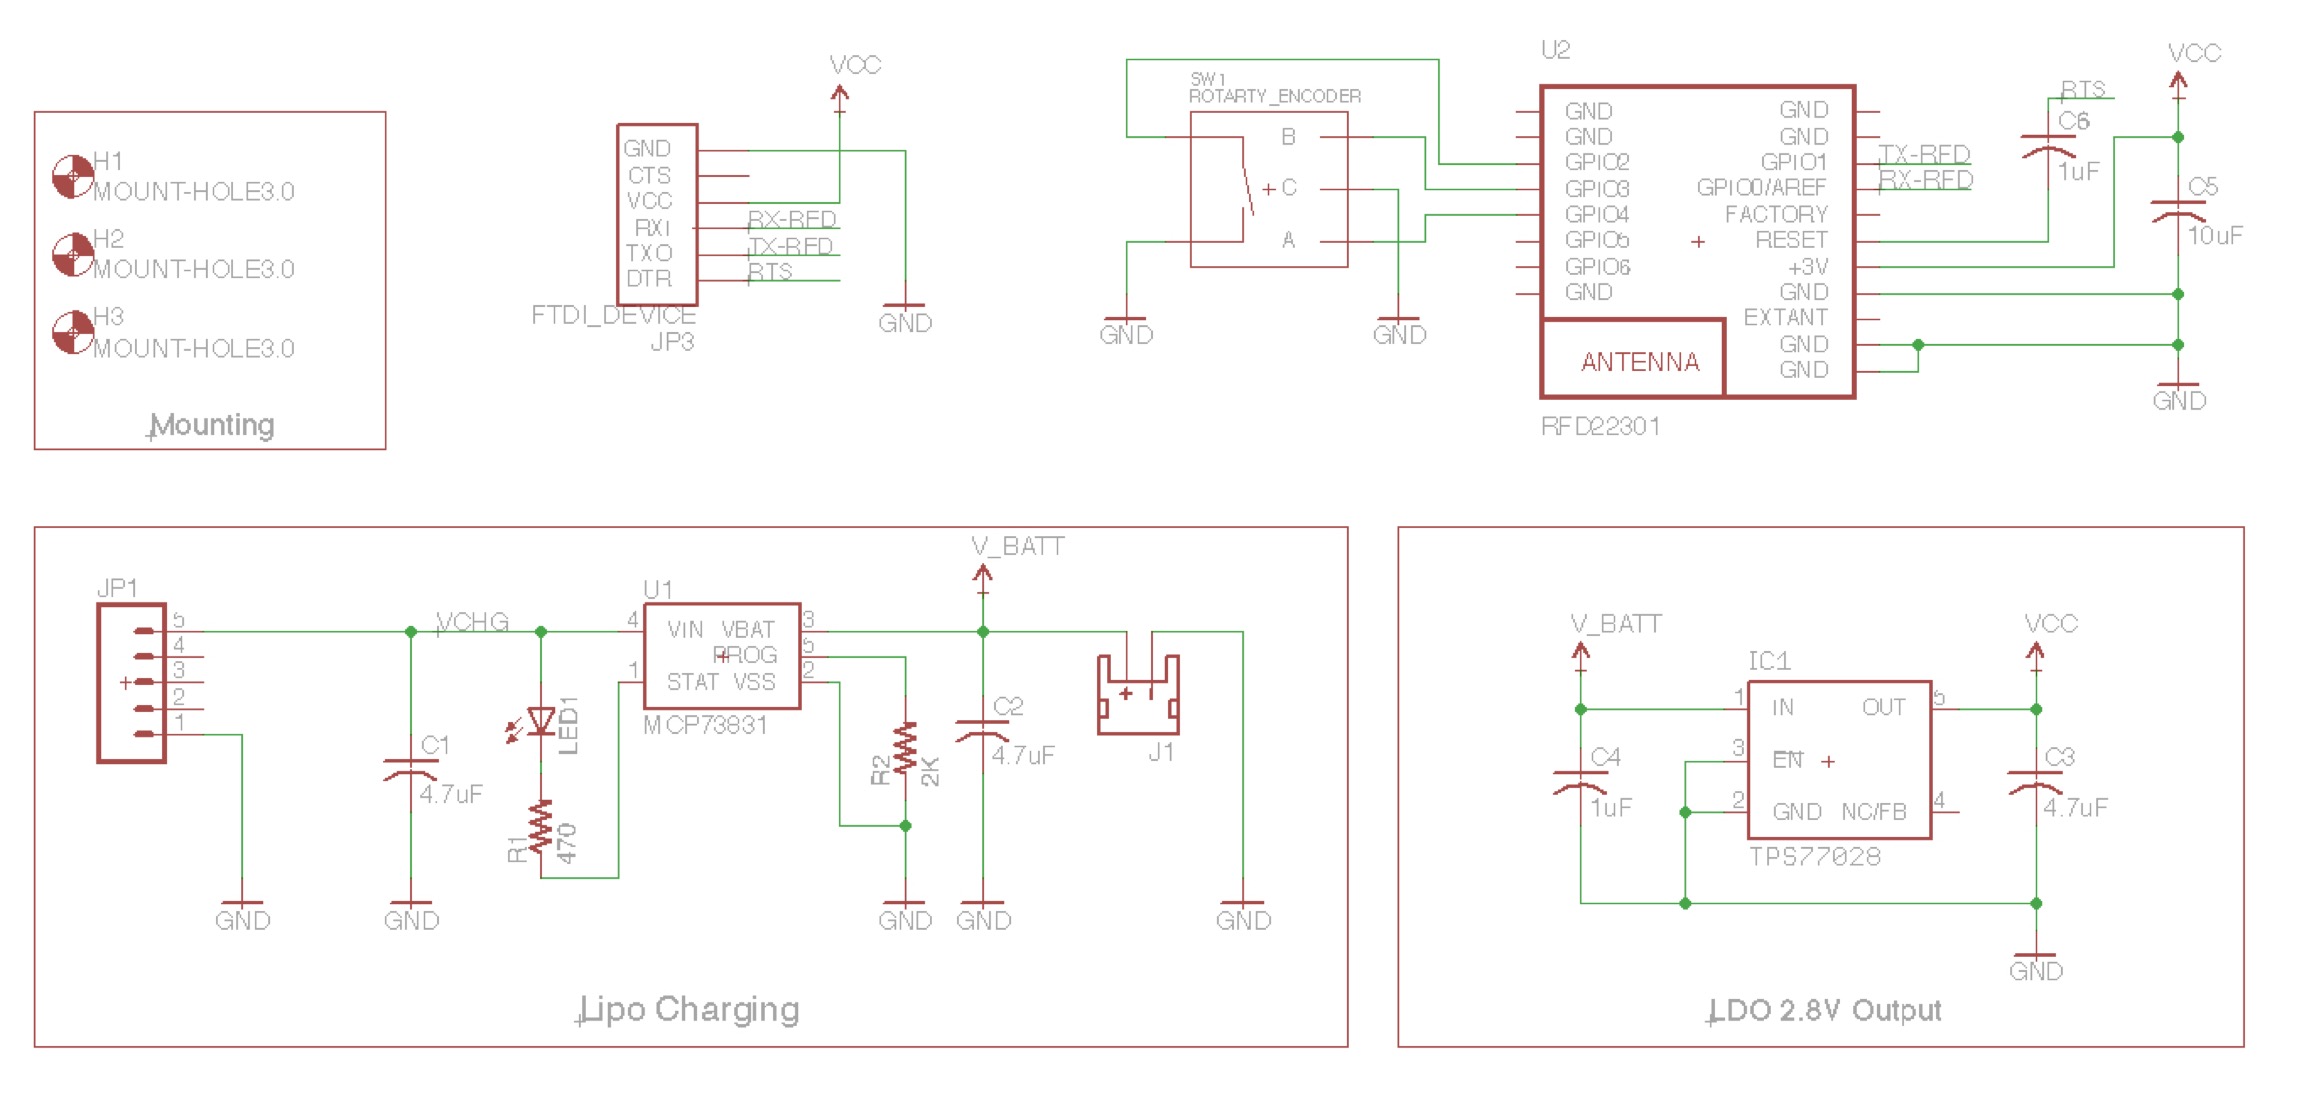
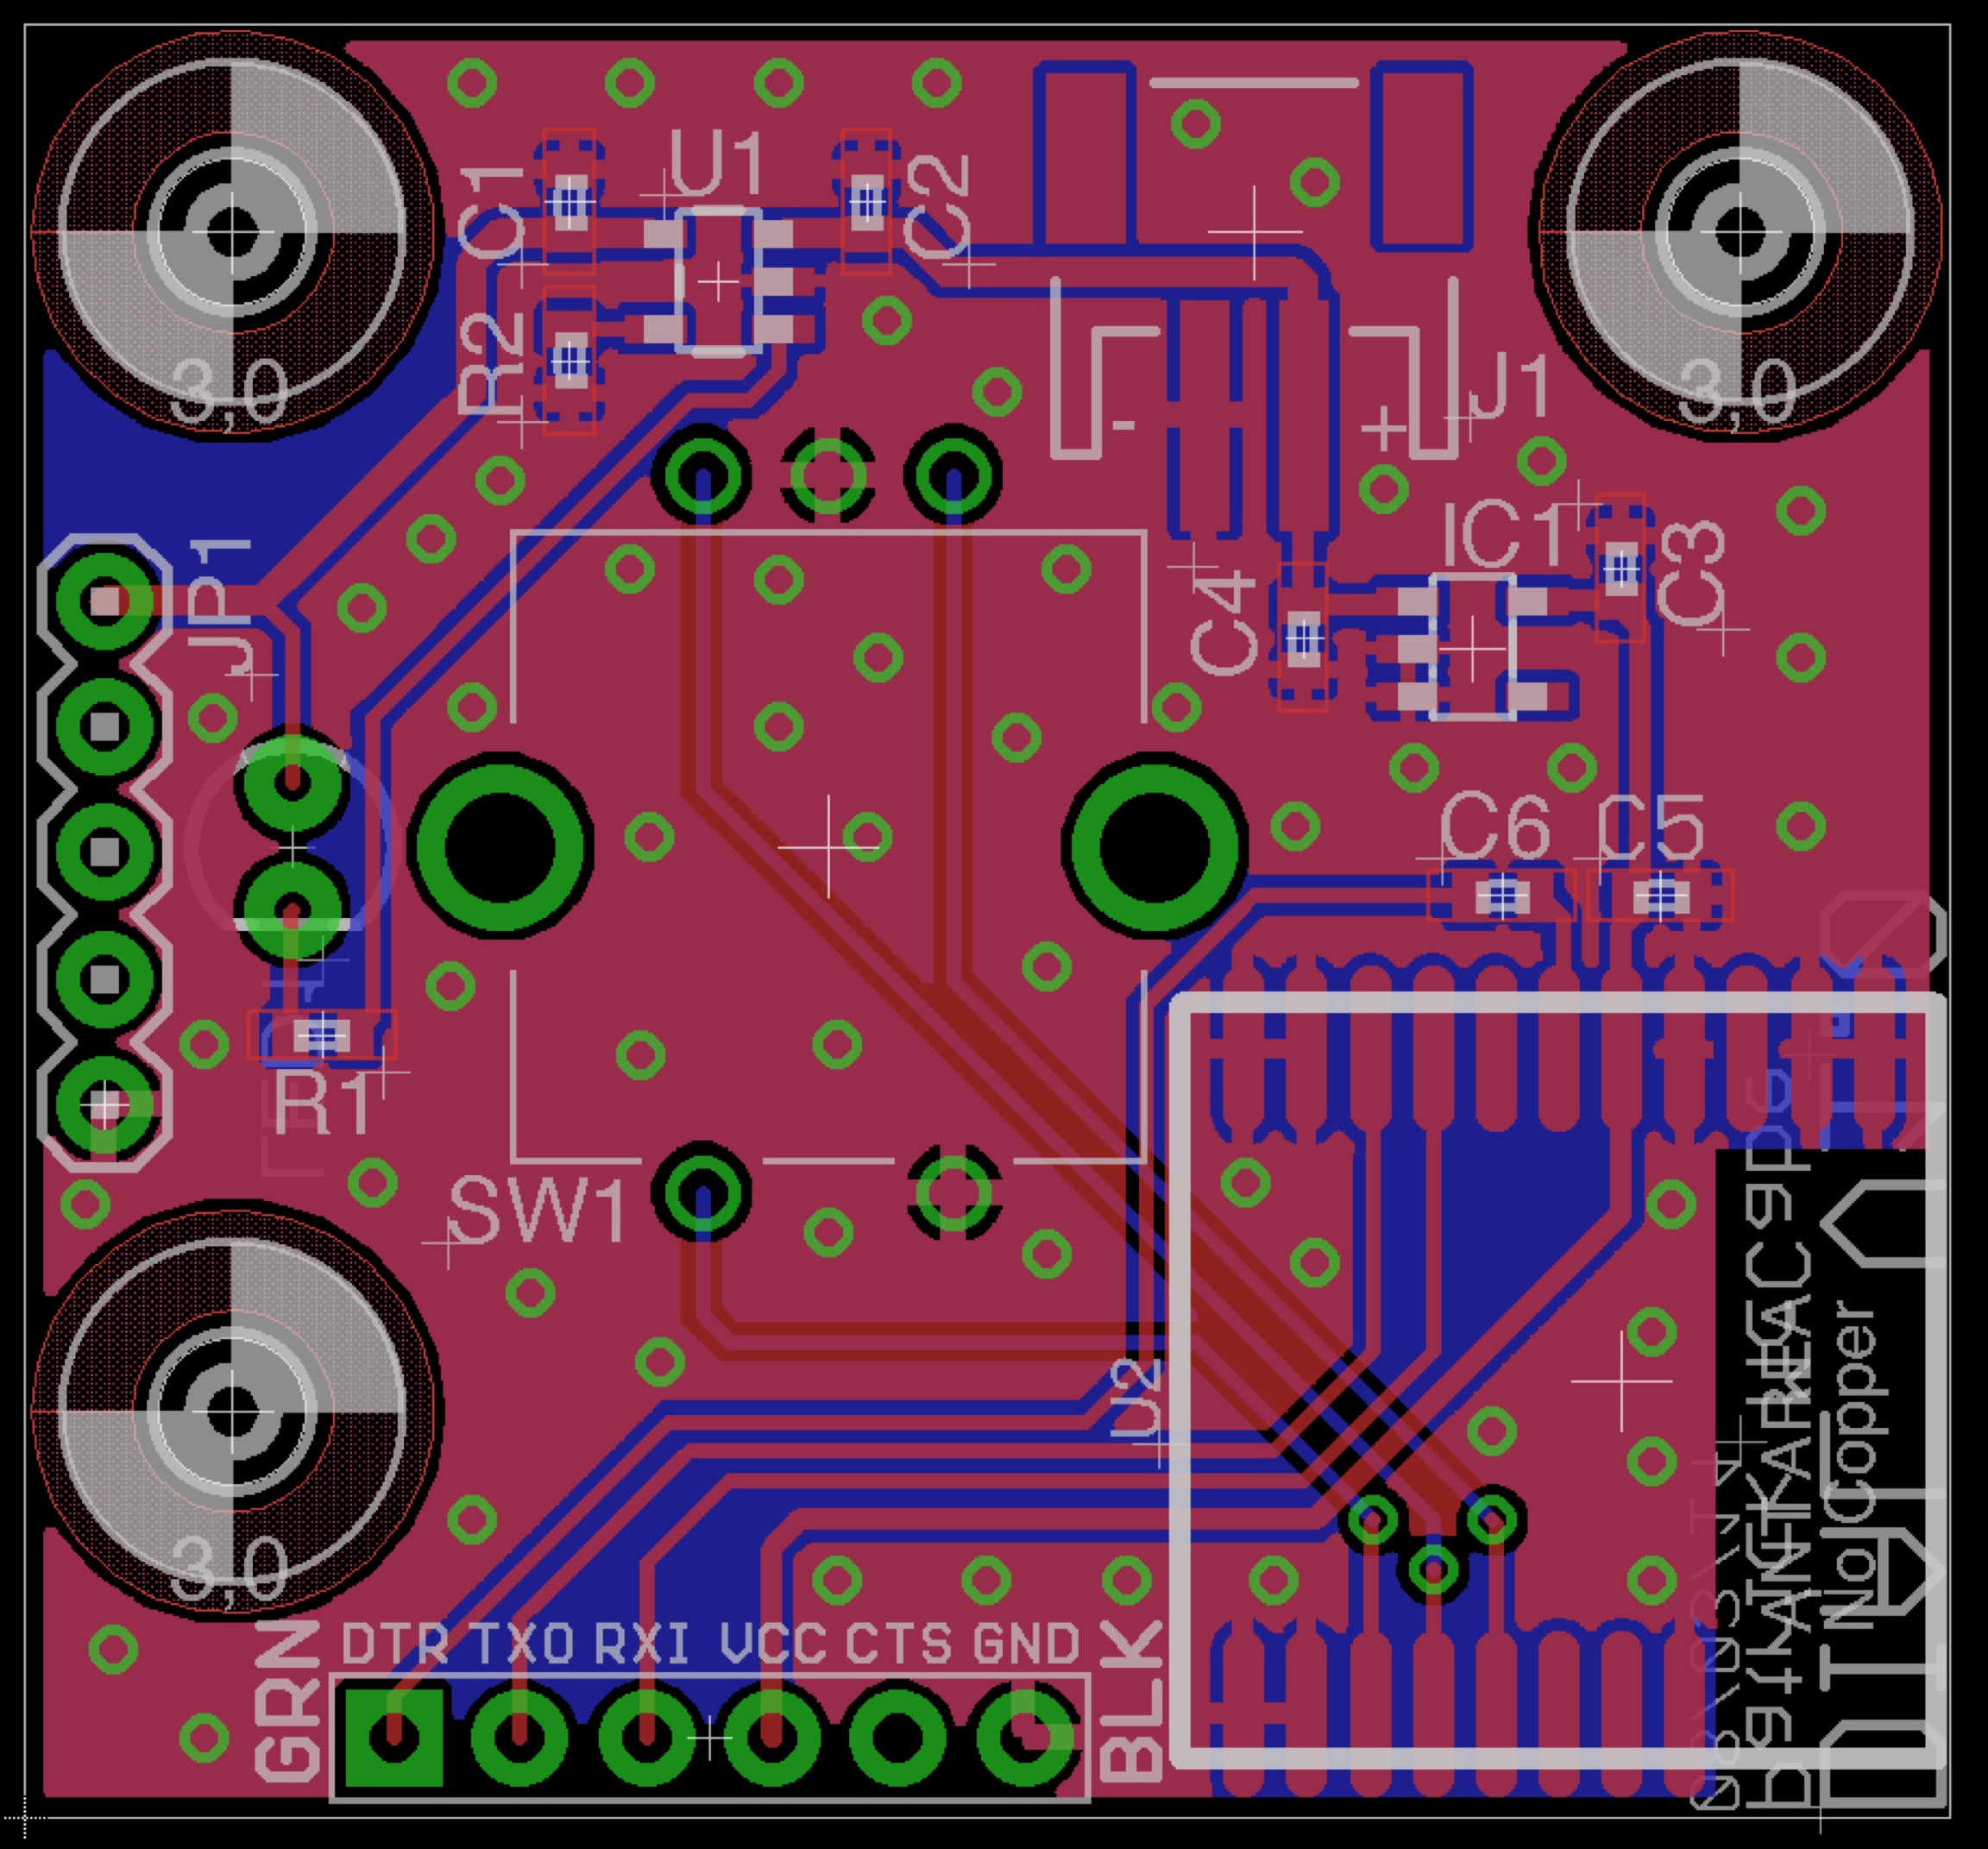
The above prototype of Dial uses four seperate circuit-boards/modules and a mess of wires to connect them all. For the final version I wanted to integrate all circuits onto the same circuit board. So Dial uses a custom PCB that I designed in EagleCAD and had constructed at OSHPark. This means that the charging circuitry, Bluetooth module, microcontroller, and encoder are all on the same PCB. Click here to download EagleCAD files.
EagleCAD Circuit
EagleCAD Board
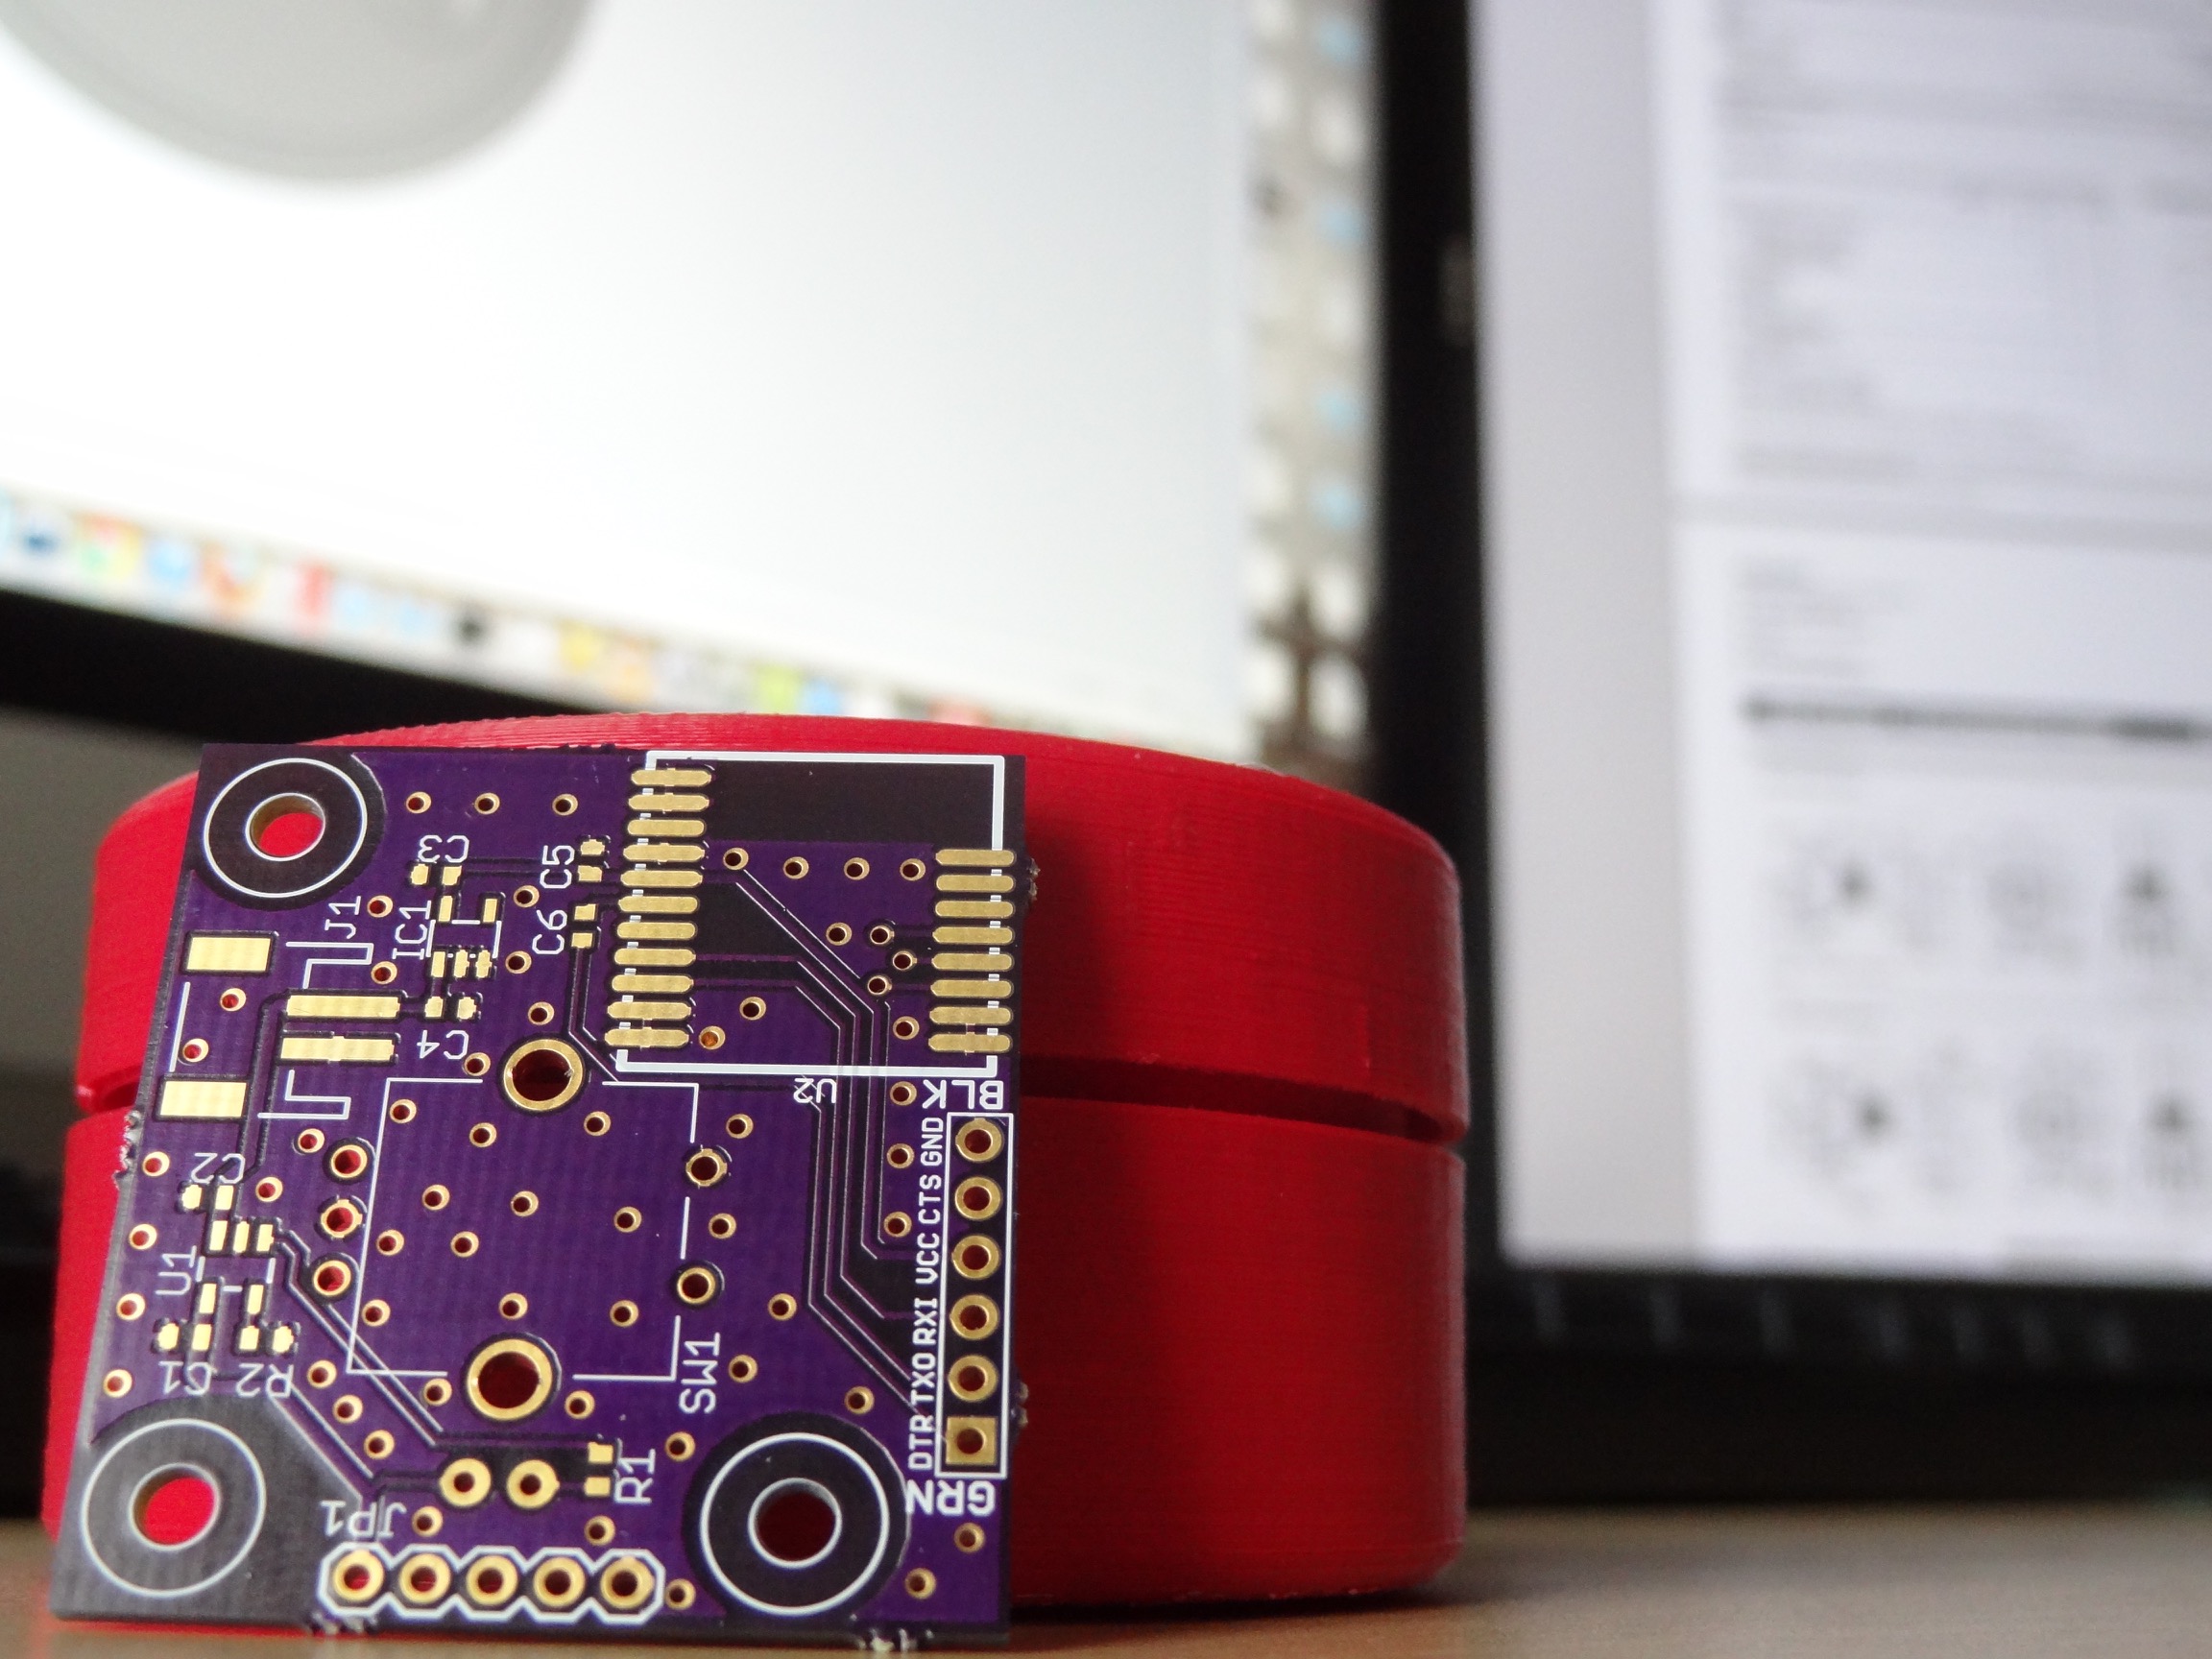
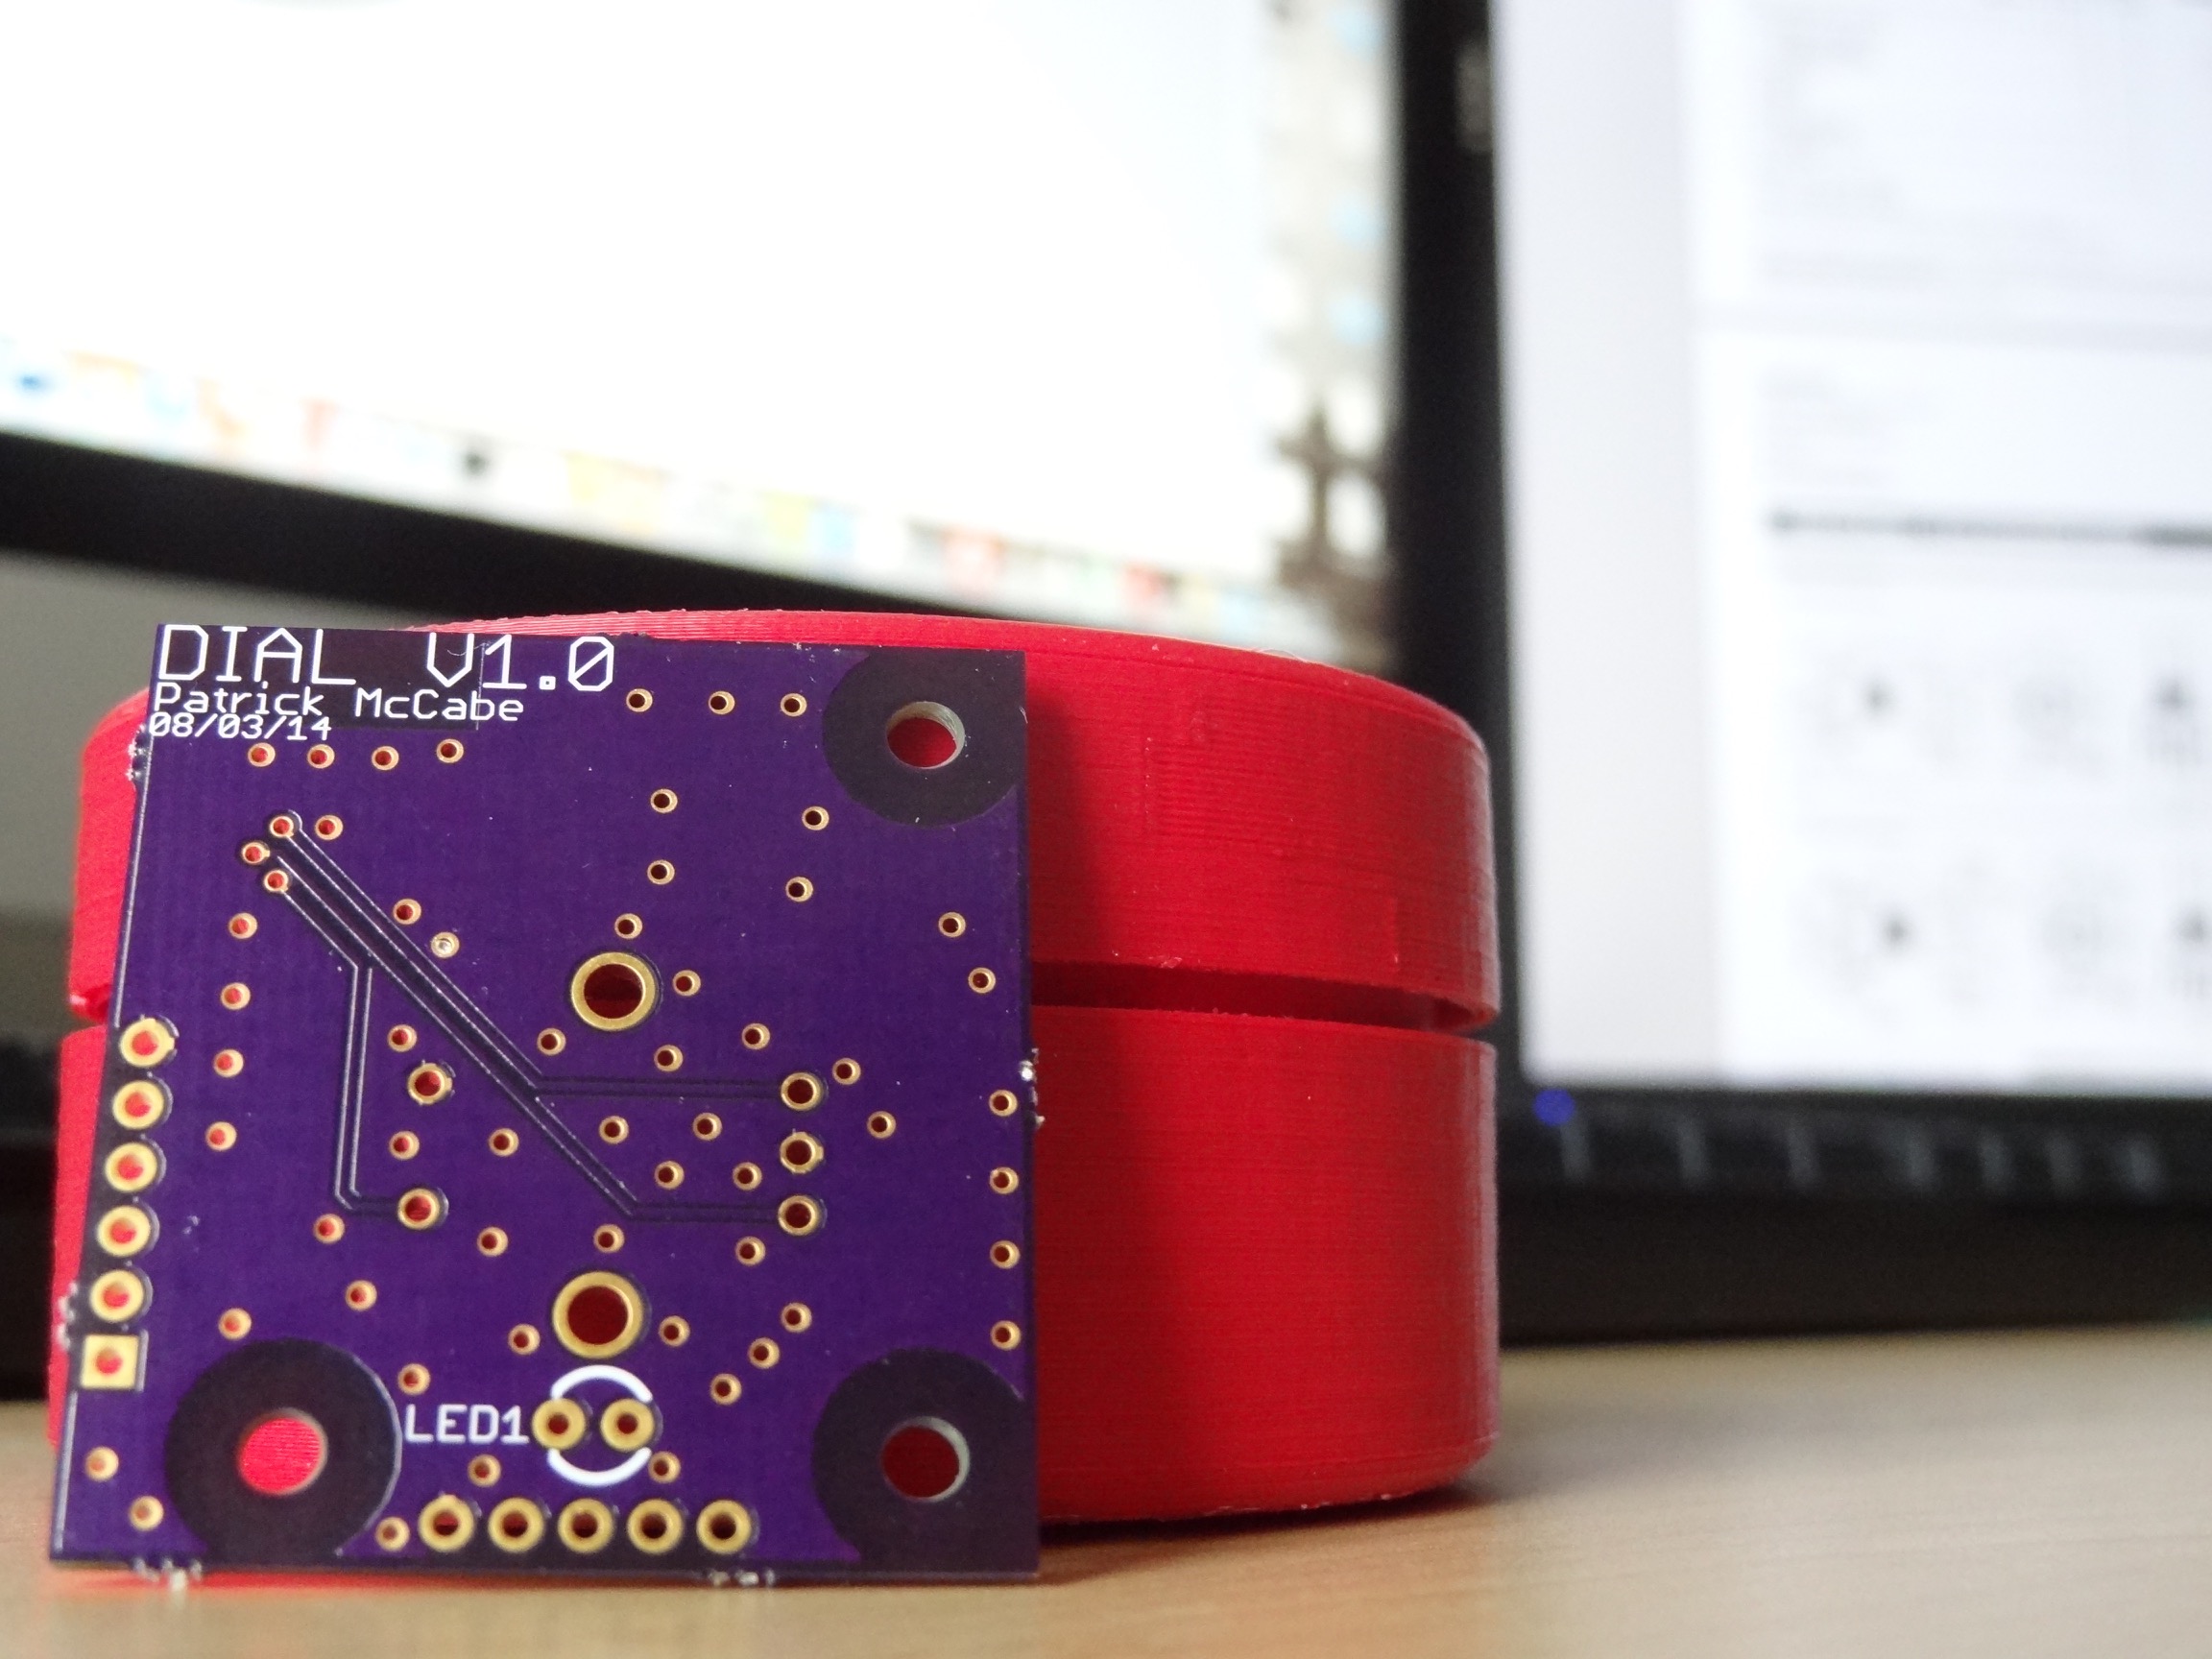
Resulting PCB
Lipo Charging
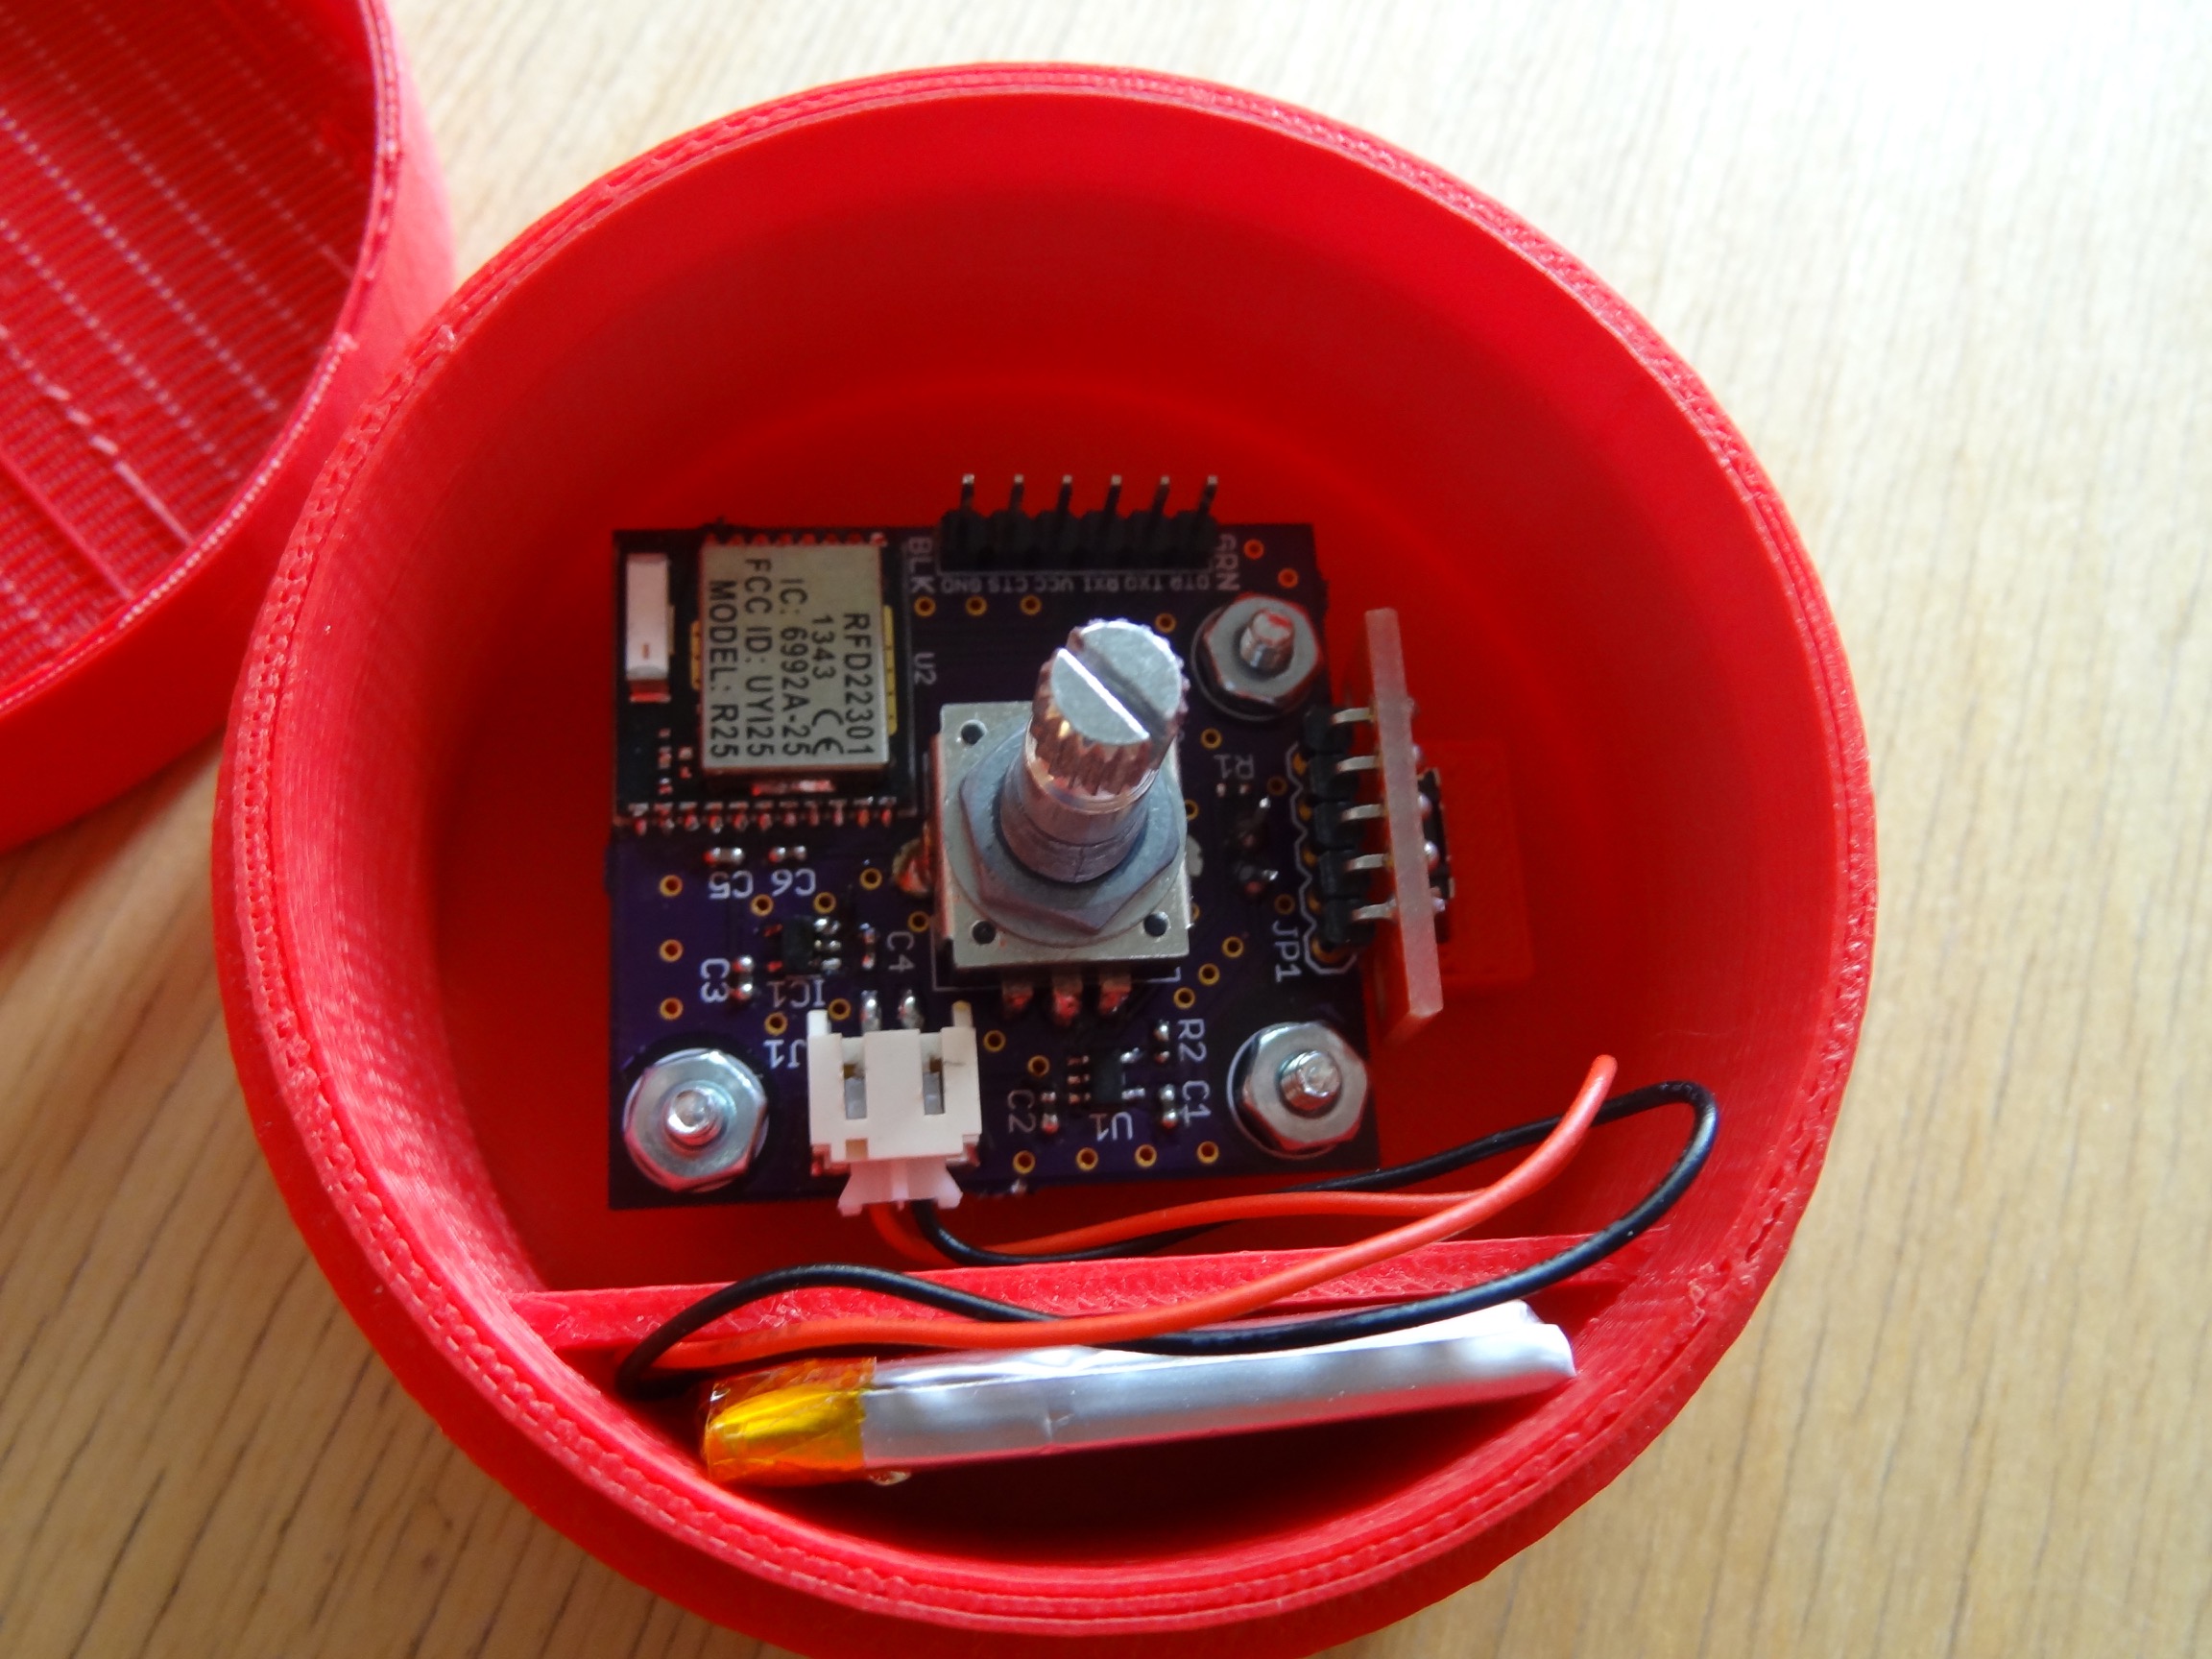
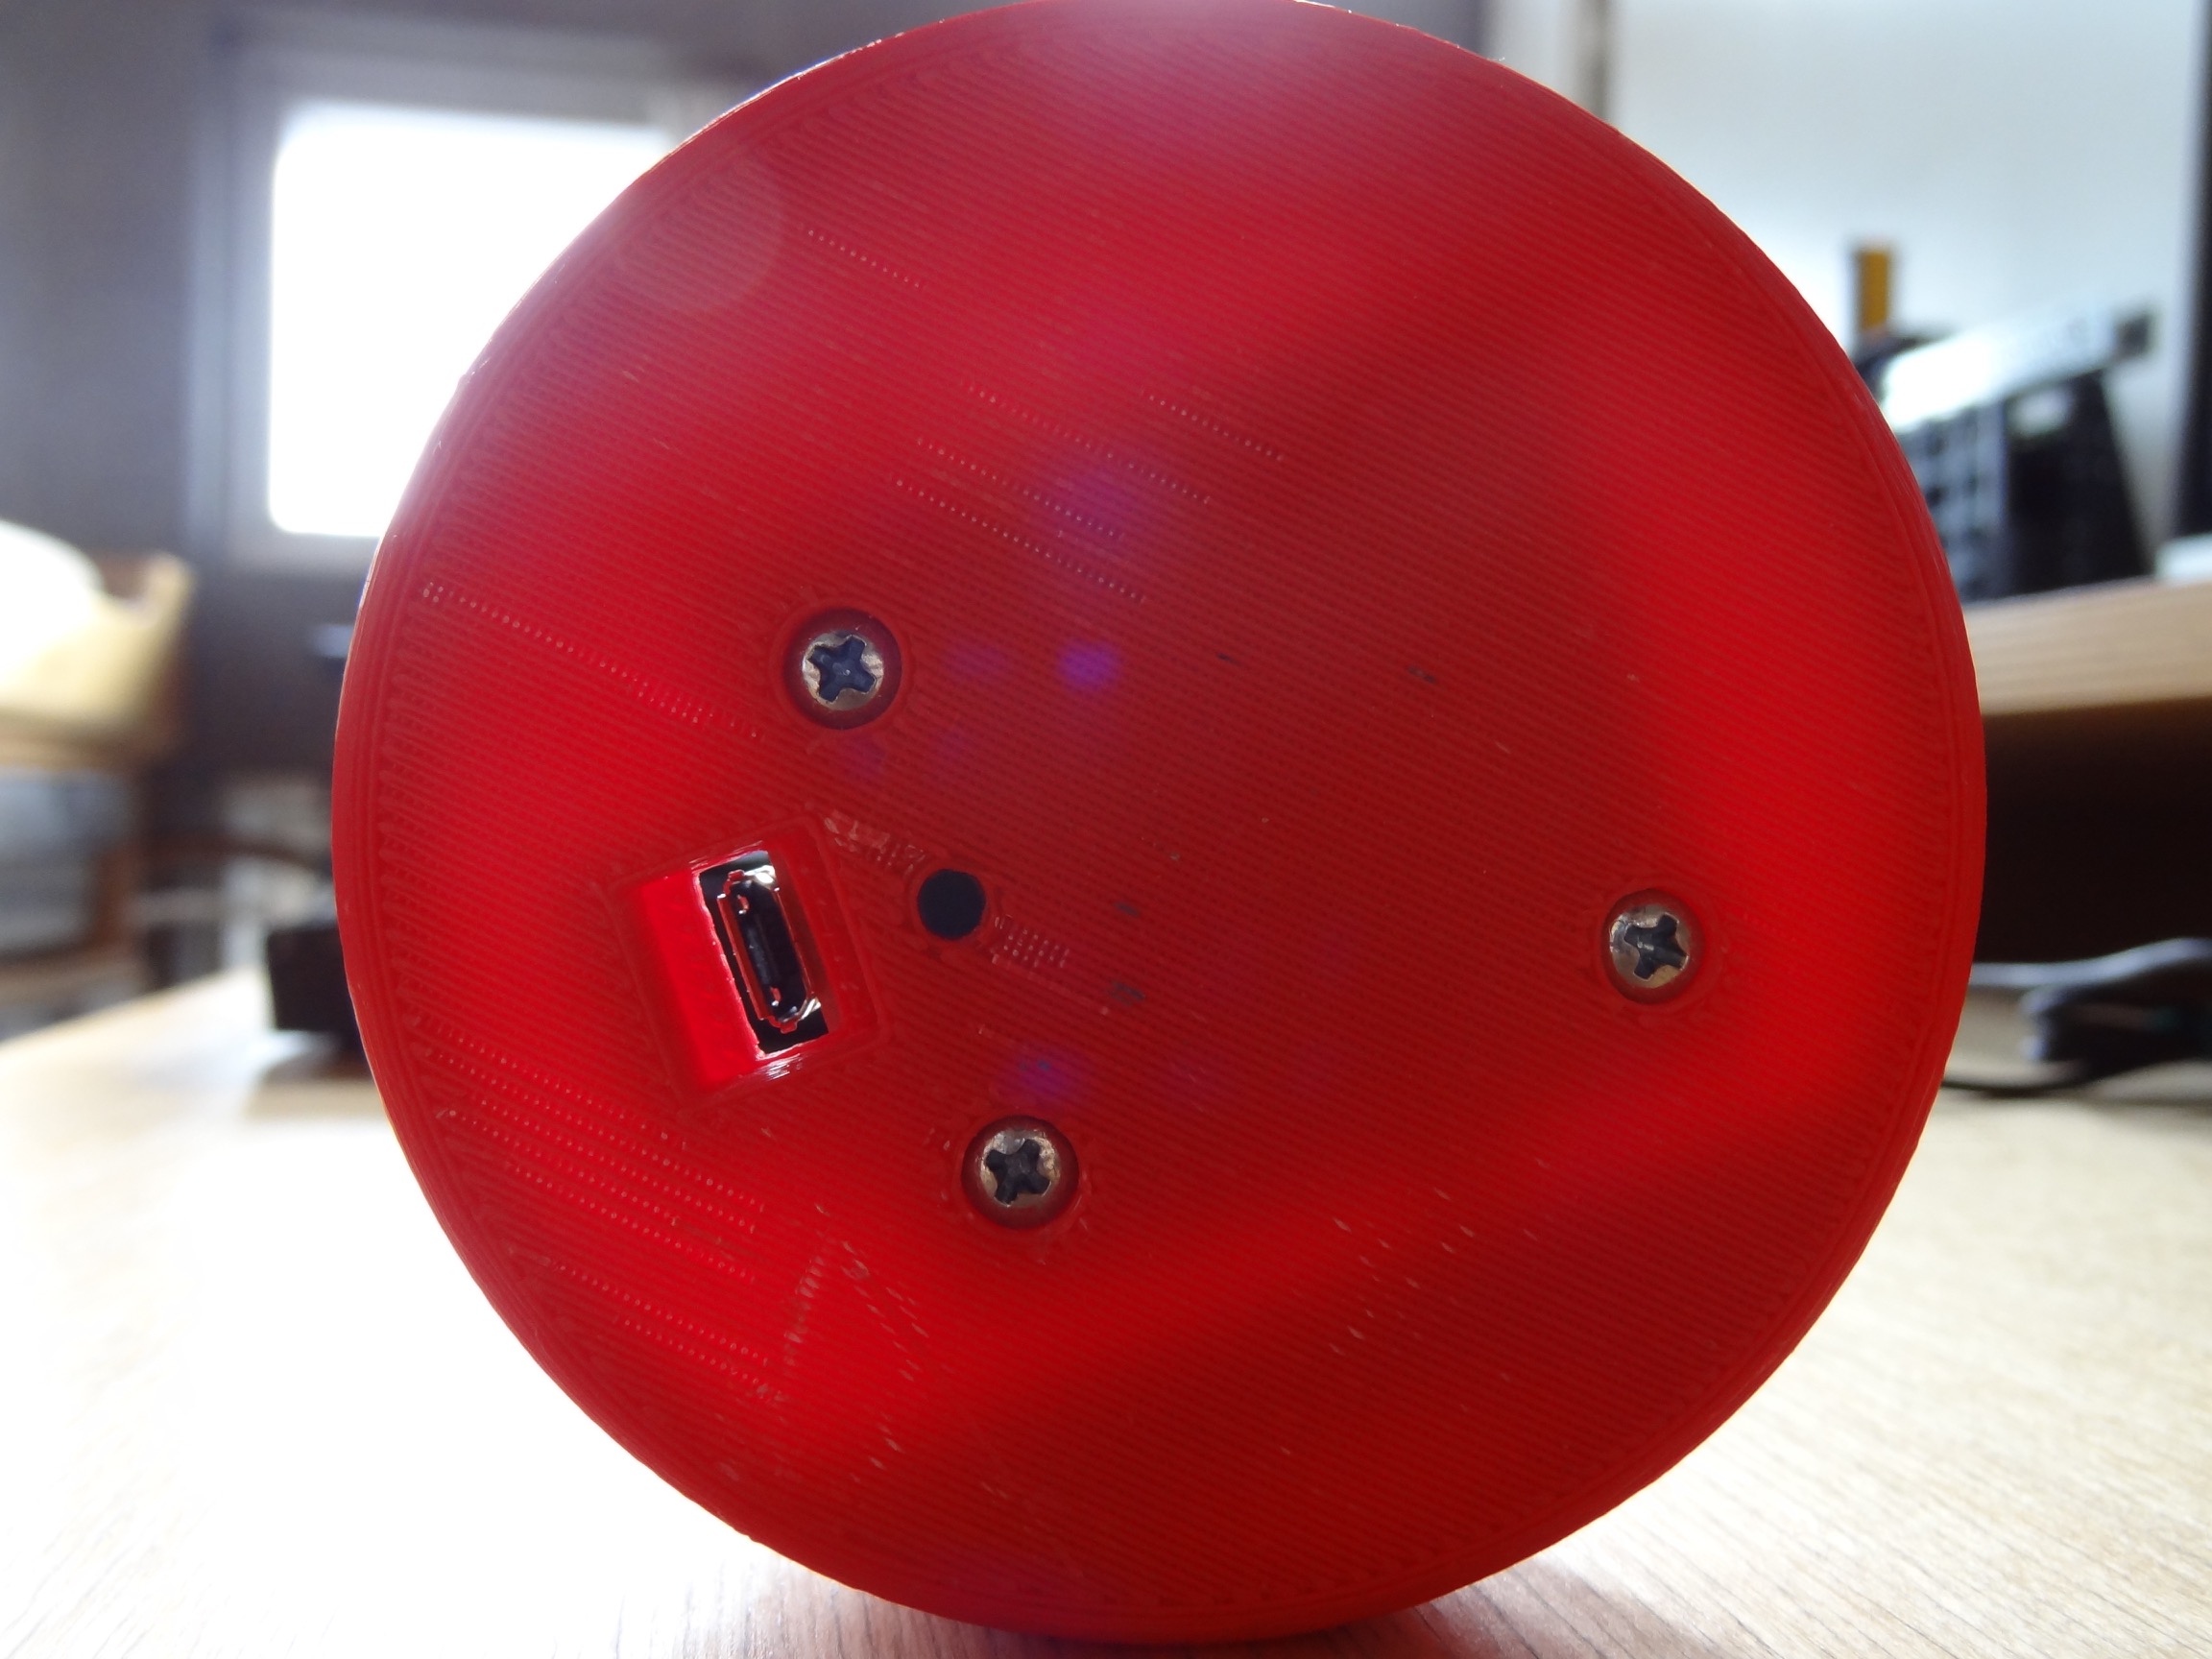
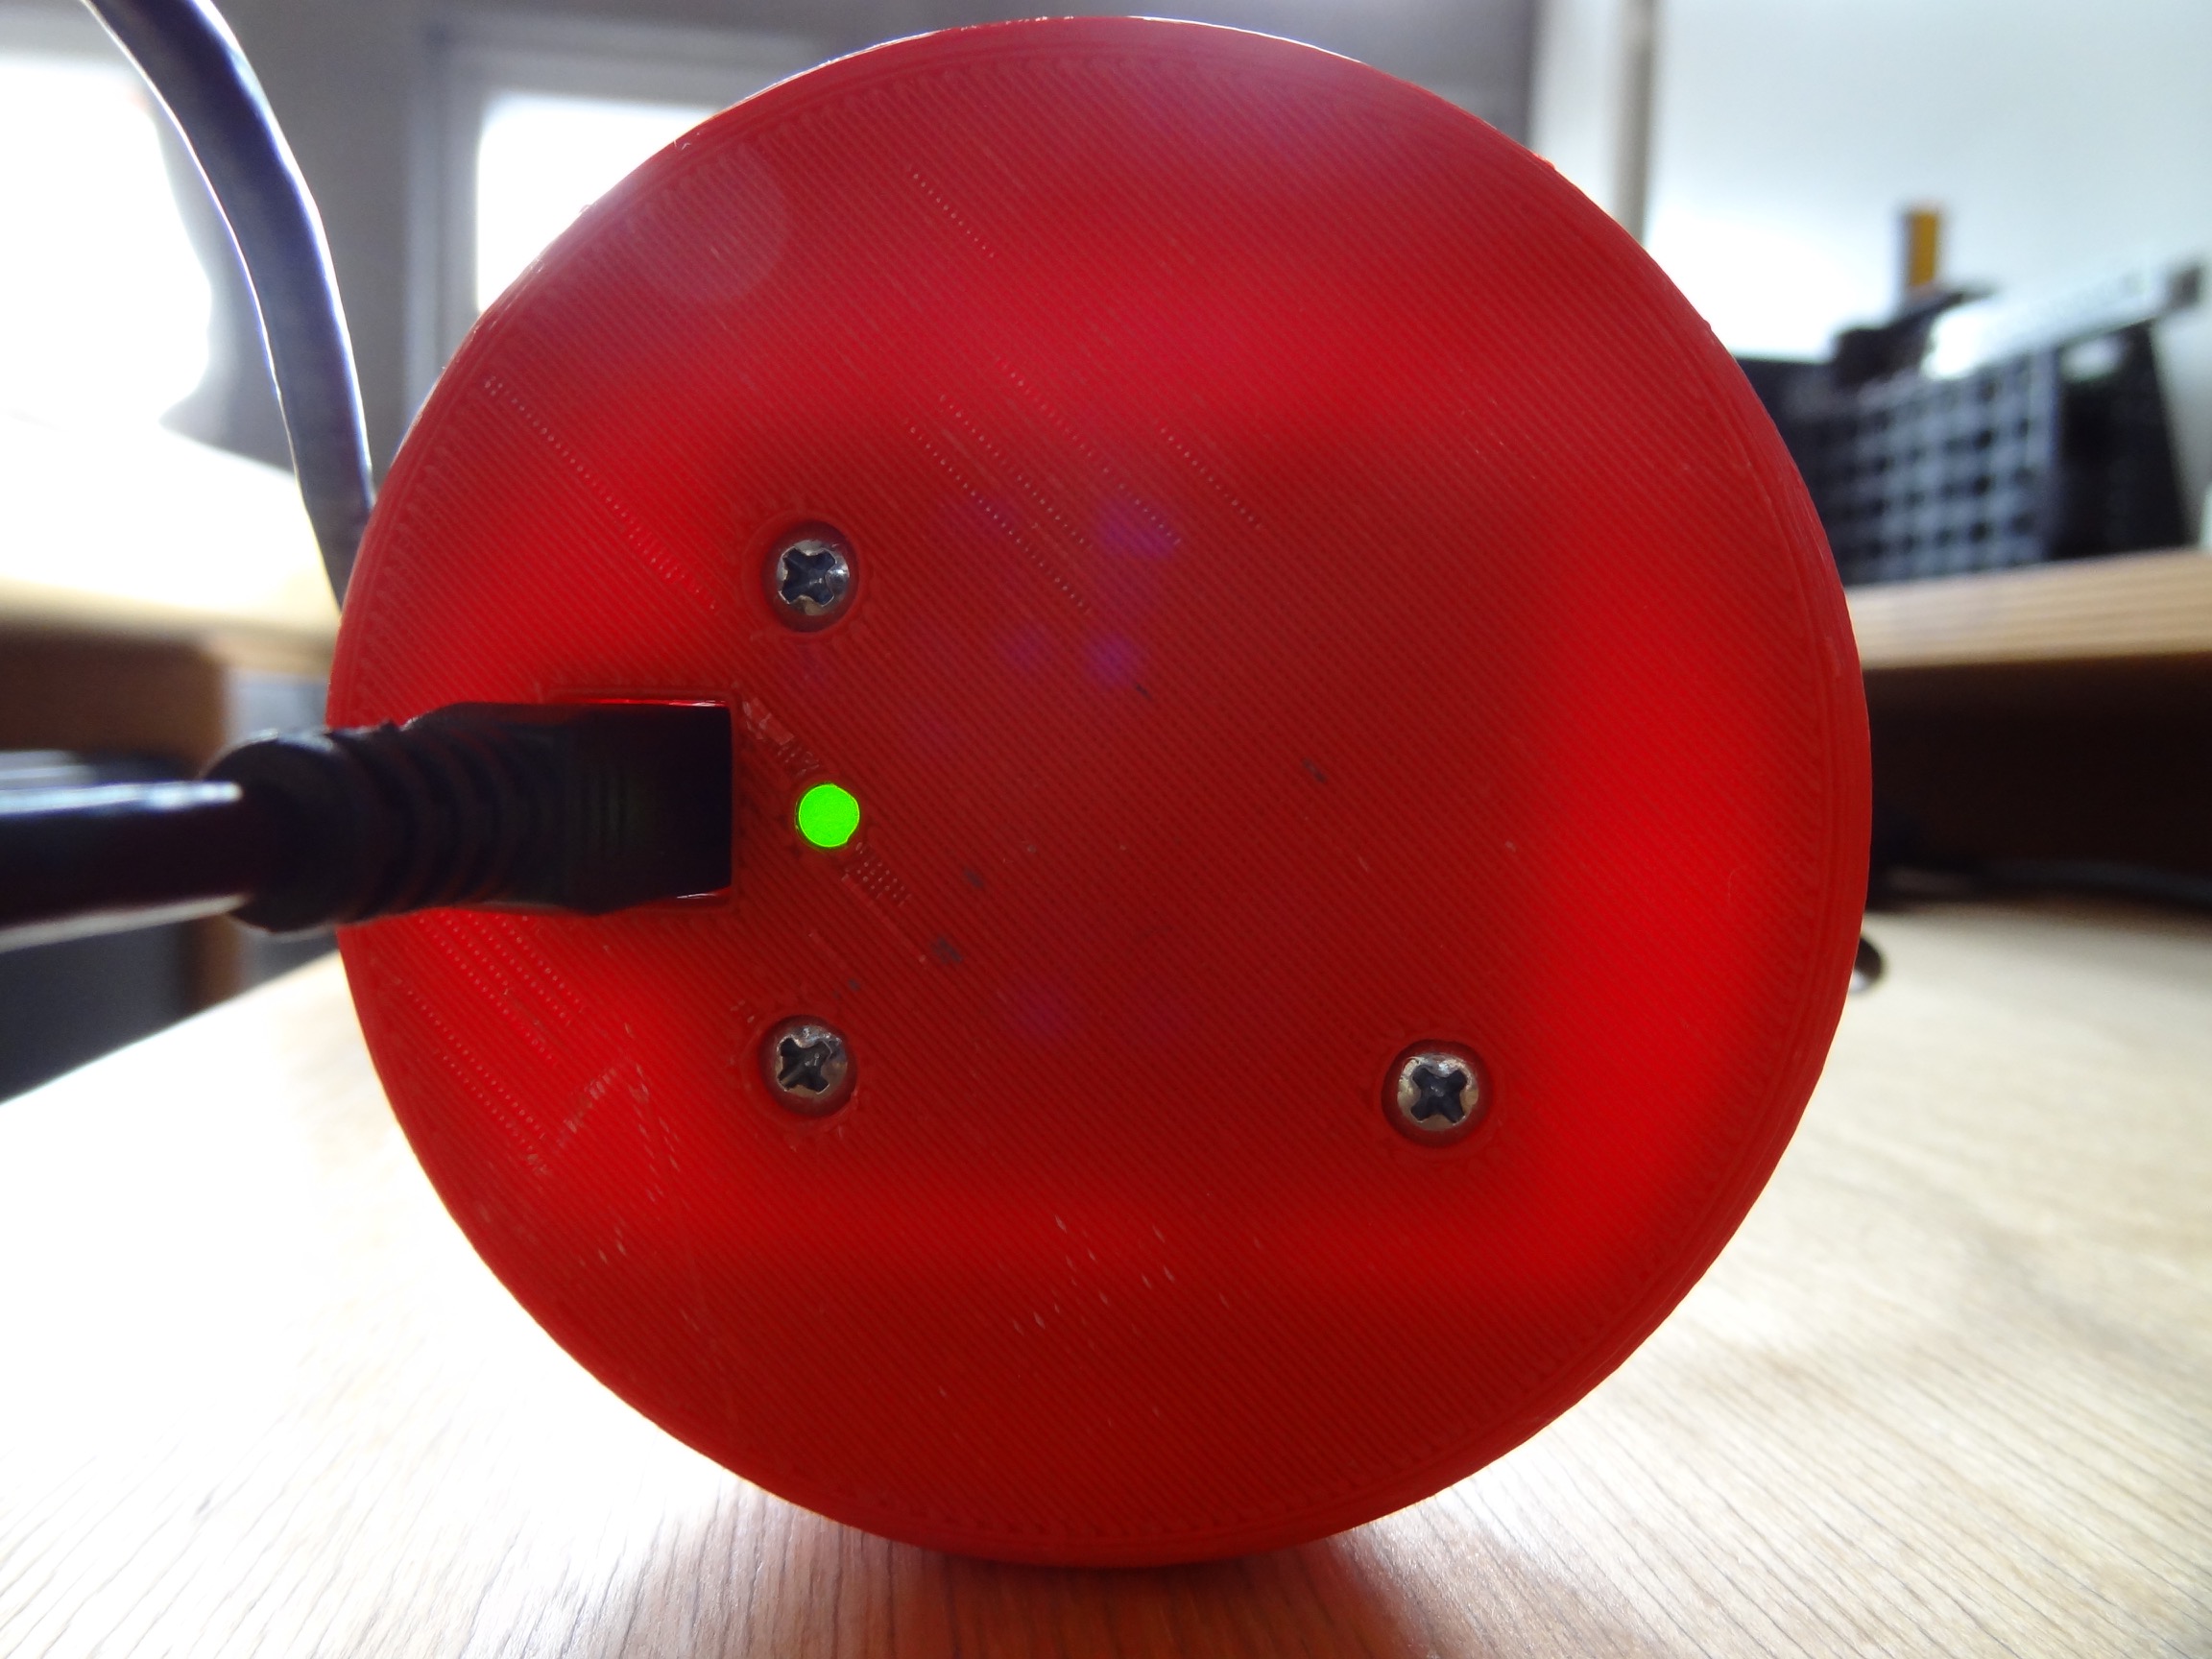
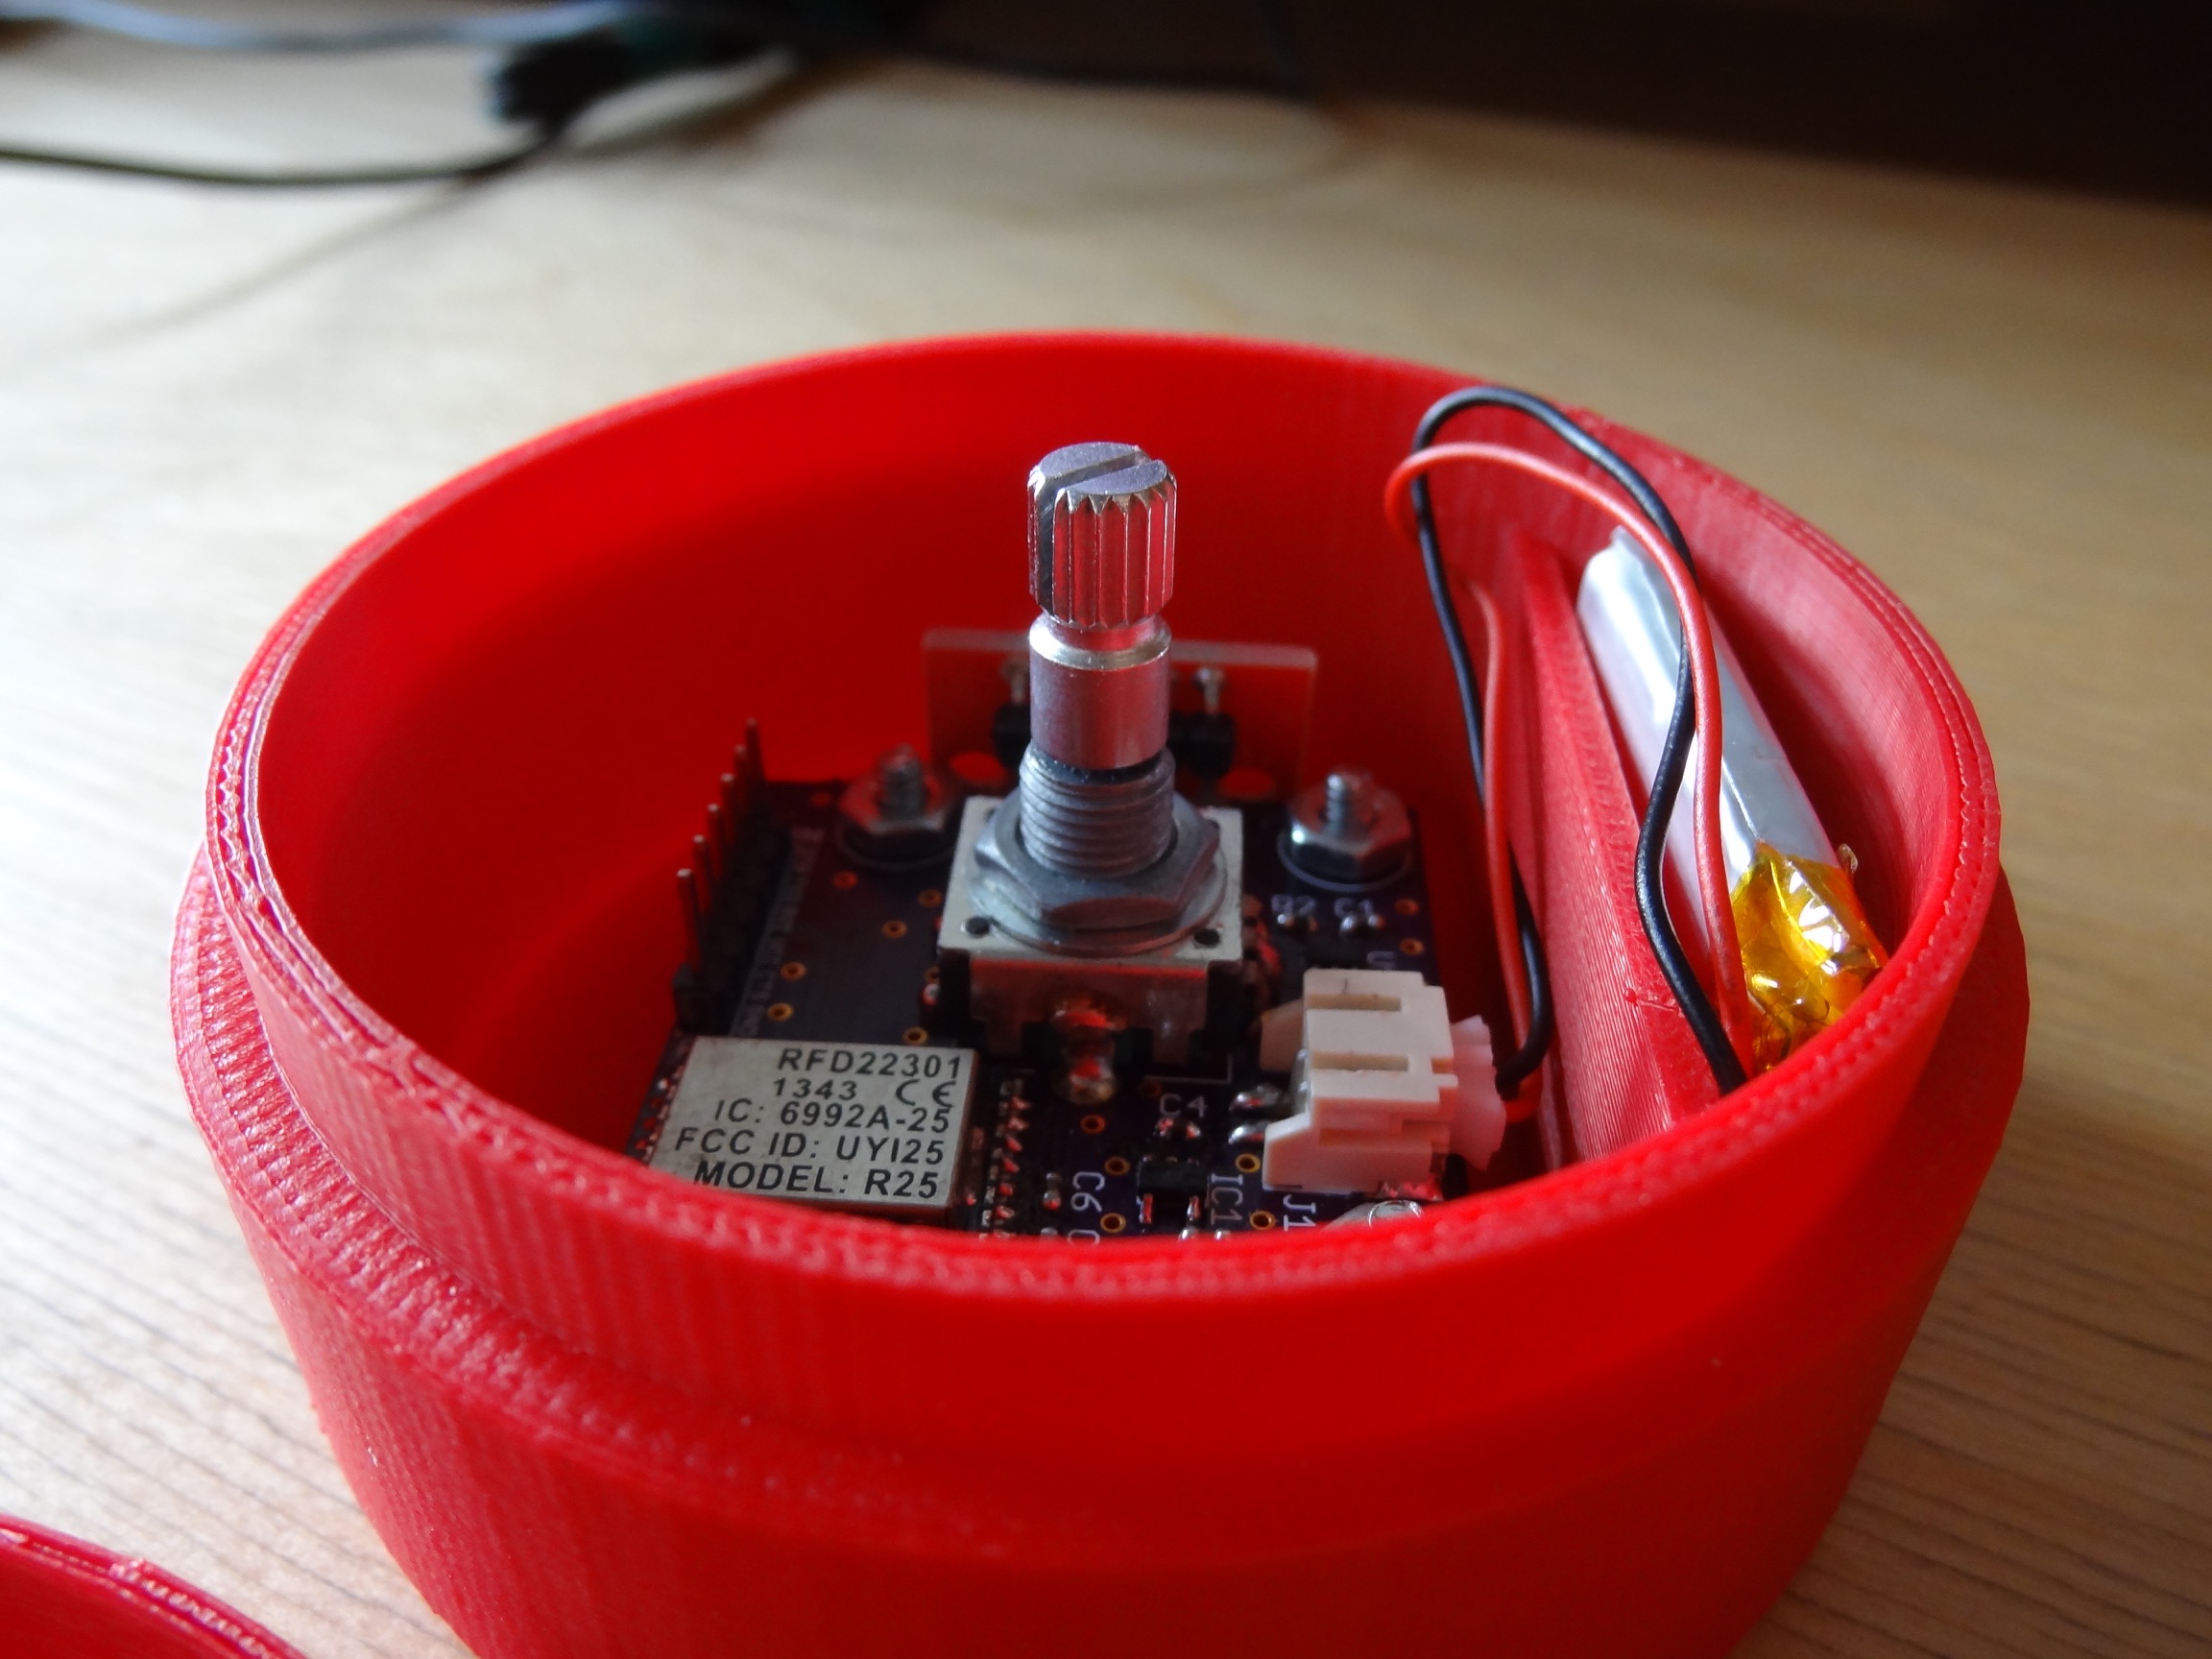
Dial contains a 400mAh LiPo battery that only has to be recharged every few weeks. This battery has "built-in protection against over voltage, over current, and minimum voltage." The LiPo charging circuit is based off of the same circuit in the Sparkfun charger used in the prototype. This circuit uses the MCP73831 single cell LiPo charge controller IC from Microchip. The charge current is set to 500mA with a 2K resistor. A USB Micro-B breakout board is used as the charging port for Dial. This USB board connects to the main PCB at a 90-degree angle so that the charging port is on the bottom of Dial. Next to the USB port on the bottom of Dial is a green LED that indicates charging status.
Bluetooth and Microcontroller
Dial uses a RFDuino module that serves as both the microcontroller and the Bluetooth Low Energy module. The microcontroller on-board the RFDuino is an Arduino compatible 16MHz ARM Cortex-M0. The RFDuino has an ultralow-power mode that maintains a Bluetooth connection while only drawing 4uA. A connector on Dial's PCB allows the RFDuino to be programmed with an FTDI cable.
LDO Voltage Regulator
The RFDuino requires a voltage supply between 1.9-3.6V. The single cell LiPo used in Dial can have a voltage of 4.2V when fully charged. So a voltage regulator must be used for safe operation. I use an ultralow-power TPS77028 LDO regulator to produce a supply voltage of 2.8V. This regulator has a typical voltage drop of 35mV and a quiescent current of 17uA.
Encoder
The rotary encoder is the input device used on Dial. The shaft of the rotary encoder used in the original prototype had a lot of play. So I purchased a few different encoders before settling on this one. This encoder has a knurled metal shaft, built-in button, and no detent so the rotation is smooth.
Dial's Plastic Parts
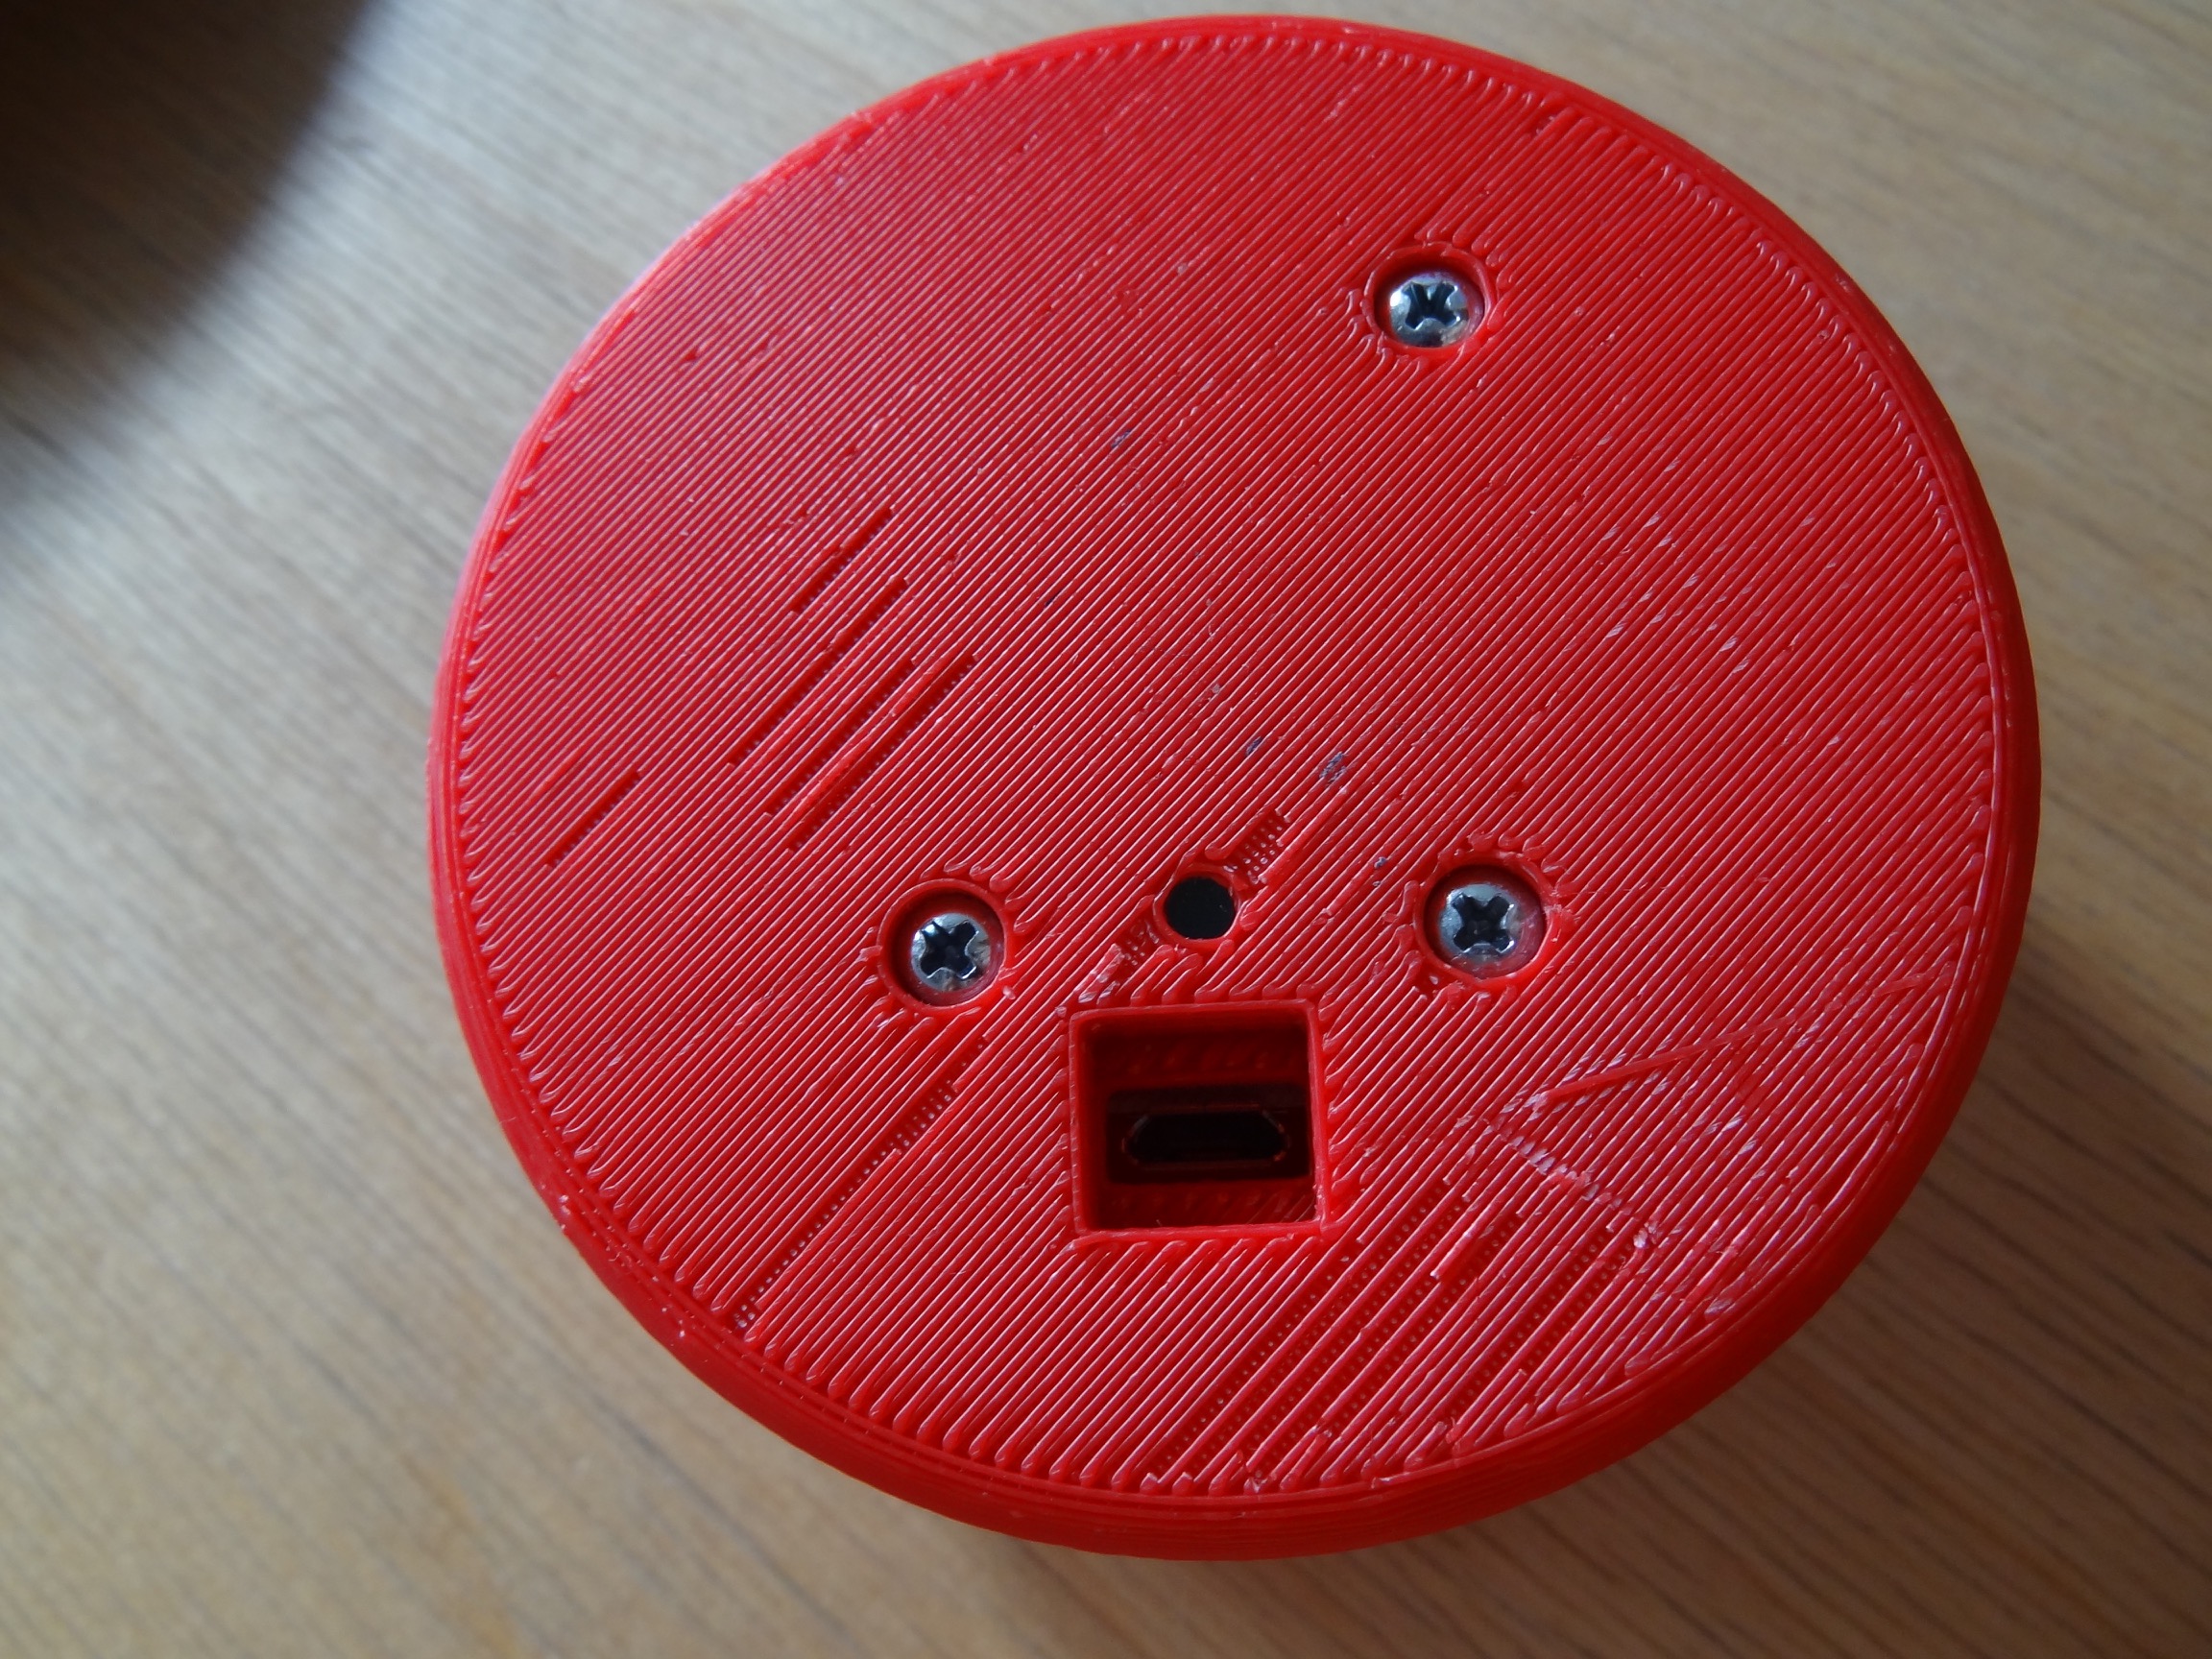
The hardware for Dial is very minimal. There are only two ABS plastic pieces - the base and the knob. I designed the plastic pieces in SolidWorks and printed them on my Up Mini 3D printer. The base has mounting holes for the circuit board, a cutout for the USB charging port and LED indicator, and a pocket to hold the battery. The knob was designed to press fit onto the shaft of the encoder. Click here to download the CAD files.


Dial's Firmware
You can find Dial's firmware over at github.
The secret to Dial's battery life is in the firmware. The RFDuino used in Dial has an ultralow-power mode. When in this mode the RFDuino only draws 4uA. The firmware keeps the RFDuino in sleep mode the majority of the time. It wakes up every 300ms to see if the user is adjusting the volume. If the user is not adjusting the volume then the RFDuino goes right back to sleep. However, if the user is adjusting the volume then the RFDuino sends some data to the computer and stays awake for a few seconds - just in case the user continues to interact with Dial. This method of waking up every now and then to check for interaction works fine with reading the input from the rotary encoder, but not with reading from the push-button. The 300ms sleep time is long enough to miss a press-and-release. So instead, the firmware uses the input from the button as an interrupt to wake the RFDuino from sleep.
The firmware is able to detect single button presses, double button presses, press-and-holds, and clockwise and counter-clockwise rotation of the encoder. Each one of these actions is communicated to the computer as a single character. The function that differentiates between the multiple types of button presses does so by timing a series of events. When the user first presses down on the button a timer is started to measure how long they hold it down for. If this time is greater than some threshold then a press-and-hold action is registered. If they let go before this threshold then there are two possibilities left - a single or double click. At this point the user has only pressed the button once, but a timer is started that gives them a small window to press the button a second time. If they do so then a double click is registered, otherwise a single click is registered.
Dial's Software
You can find Dial's software over at github.
Dial's software is made up of two pieces. The first piece was written in Objective-C using Xcode and handles the Bluetooth Low Energy communication with Dial. The second piece is a collection of AppleScripts that interact with other computer programs to actually play/pause movies or skip music on iTunes. This seperation makes it simple to personalize and add to Dial's features.
The Bluetooth communication program I wrote is a rehash of Apple's heart rate monitor example code. This application automatically connects to Dial and receives a message everytime the user interacts with Dial. Based on the received message this program runs a corresponding AppleScript. There is a seperate script for when a single click, double click, press-and-hold, clockwise or counter-clockwise rotation occurs. This program should work with any Mac with built in Bluetooth 4.0 (BLE) support. My iMac is a little too old and does not have Bluetooth 4.0, so I use an adapter.
Using AppleScript is an easy way to interact with other applications. Below you can see the script that runs whenever the user does a single click. This script "presses" the space bar when in a movie player application like VLC or QuickTime Player (the space bar toggles between play and pause). If not in a movie application, then a single click on Dial will toggle between play and pause in iTunes.
set currentApplication to name of current application
tell application "System Events" to set frontApp to name of 1st process whose frontmost is true
if (frontApp is "VLC") or (frontApp is "QuickTime Player") then
tell application "System Events" to key code 49
else
tell application "iTunes" to playpause
end if
As another example, below is the script that runs when the user rotates the knob on Dial in the clockwise direction. This script increases the computer's volume.
set volume output volume ((output volume of (get volume settings)) + (4)) --100%